 ES
ES EN
ENHow to create a Landing Page?
In this article, you’ll learn how to create landing pages that help you convert visitors into leads and customers.
Do you know what a landing page is? It’s a URL that serves as the first point of contact users have with your brand after clicking on an ad, a link in an email, or on social media. They’re essential elements for capturing data with forms that link to a list in your Doppler account. They’re built with an editor that allows you to modify elements in just a few clicks and achieve a very professional result, without any design knowledge. 😉
You can use a landing page to complement any of the following communication actions:
- Downloadable material or lead magnet.
- Event registration.
- Newsletter subscription.
- Access to links from social media.
#DopplerTip: Remember that a landing page is an add-on in Doppler, so you must purchase a package to publish it. If you have a free account or one of the Marketing Plans, you can create and design a Landing Page in your account, but not publish it. Check which Landing Page Pack suits your needs here. 🎯
Step-by-step guide to creating your Landing Page
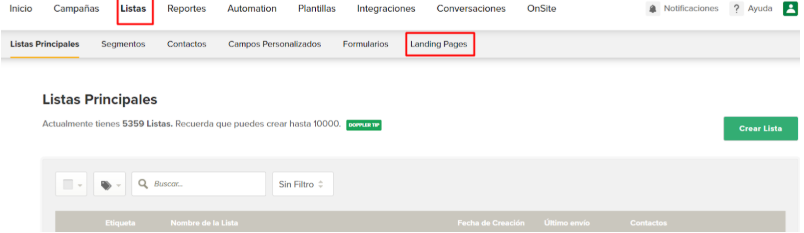
- Log in to your account and choose Lists from the main menu. Click on the Landing Pages subcategory, as shown in the image.
2. Once there, you’ll access all the pre-designed categories so you can choose the one that best suits your campaign objective:
- E-books.
- Lead Generation.
- Link in Bio.
- Marketing.
- Sales Page.
- Subscription.
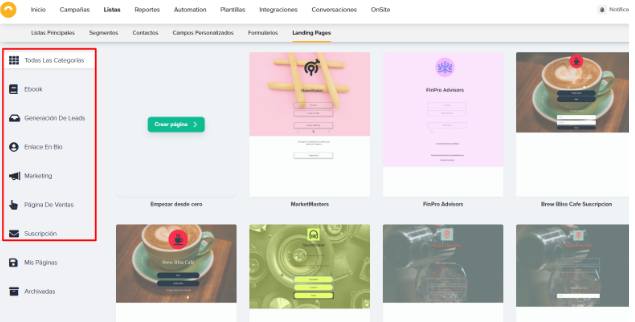
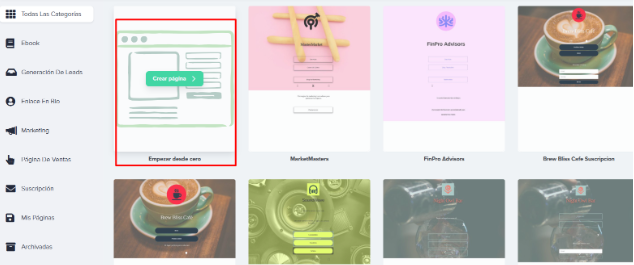
Additionally, you can create a page from scratch if you need something different from the pre-designed templates found in the Editor and adapt it to your brand image. You can add your components, style, and images. In this case, you should select the Create Page option. For both options, the following steps are the same. 🙂
In the Archived menu, you’ll find all the pages you’re not currently working on. You can work with up to five Landing Pages in the Editor.
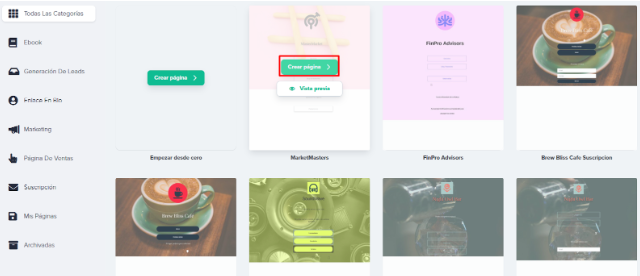
3 – Once you’re on the option you need, select the green Create Page button. Whether you need to create it from scratch or use a template.
4- Next, you will configure your Landing Page preferences.
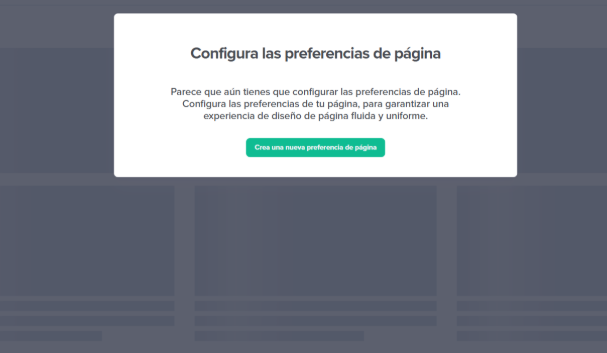
5 – First, you must assign a name. #DopplerTip: Give it one that’s easy to remember or locate later, if you have to create several 😉
Here you can also assign the color palette, logo, font, social media content, etc. If you don’t want to save preferences or want to do so later, click the green Done button.
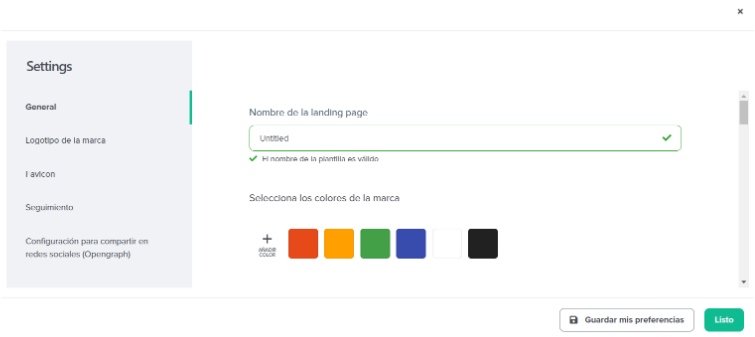
General: where you can modify titles, subtitles, font colors, buttons and preferences for call to actions, links,
Brand logo: you can upload JPEG, JPG, PNG, GIF and SVG image files up to a maximum size limit of 5 MB.
Favicon: here you can add a small image associated with your brand that will be displayed in your browser window.
Tracking: Incorporating this code snippet will allow you to create, measure and optimize audiences for your Facebook and Google Analytics campaigns.
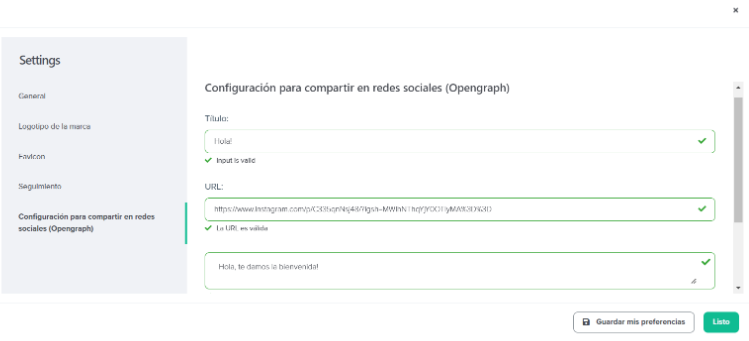
Social sharing settings: from this option, you can add how you want it to be displayed when users share your url. Let’s see how it make it:
-Enter the title, URL link, description, and image to display when you share your Landing Page link on social media.
-You will find the URL of your Landing Page below the previous image. To share it, copy this URL and publish it on the social network you want. Here are some examples of what your Landing Page post will look like on Facebook, Twitter, and LinkedIn.
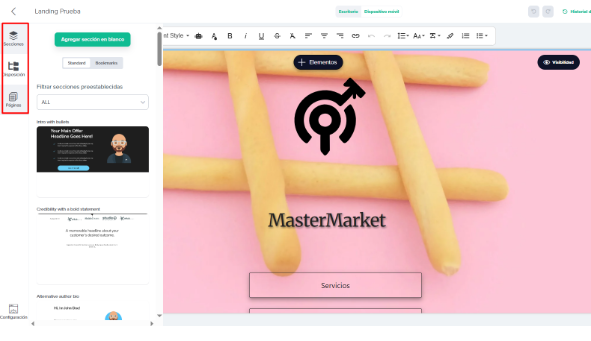
6 – Now let’s move on to the canvas where you’ll edit your new Landing Page. On the left side, you’ll have:
- Page Sections: where you can adjust the order of your content and add other modules.
- Layout: This is a continuation of this page and others that can be part of a marketing sequence or flow.
- Pages: where you can add other modules, such as a landing page or another interesting section like a video or a form.
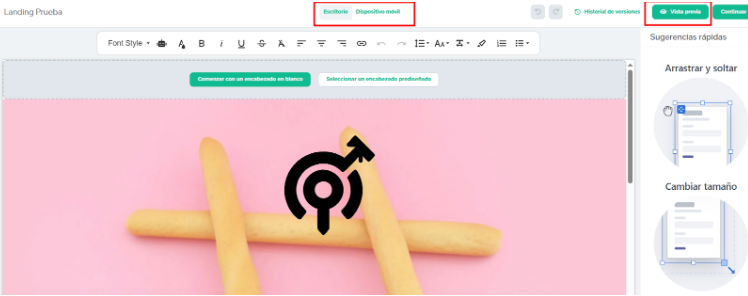
7. Now, if you need to edit your design, you’ll have all the elements to do so in the top bar.
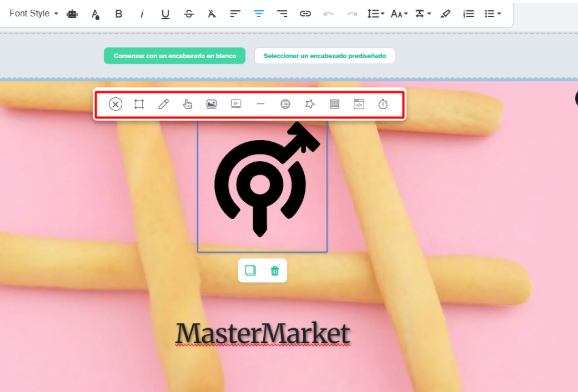
8. To use any of the elements, click on the section of the page you need to edit and a menu will appear. There, choose the options you need to modify, such as replacing the logo. You can upload a new image, crop it, add text, and other editing options.
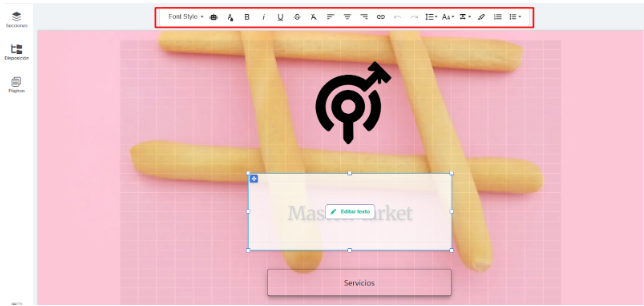
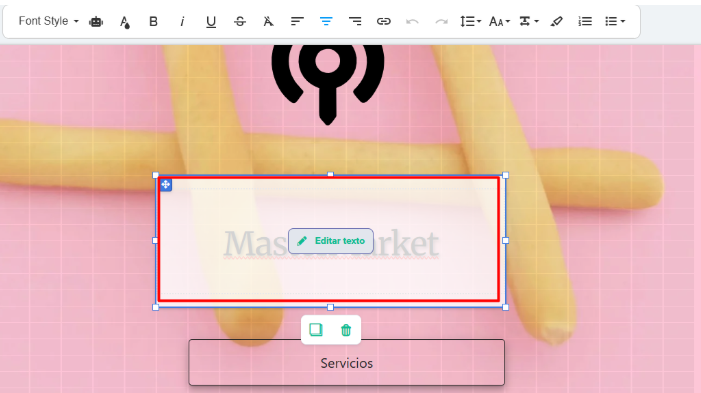
9. If, for example, what you need is to edit text, you will position yourself over the section you want to modify, select Edit text and fill in the content you need.
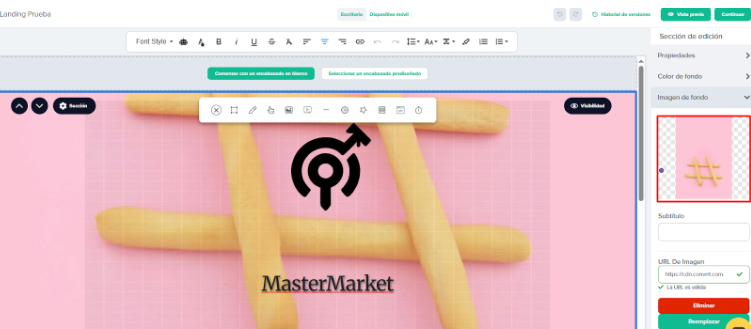
10. Alternatively, if you need to change the background image, click on it and the editing options will appear in the right menu.
11. Once you’ve edited all the elements, you can click Preview to see how they will appear on mobile and desktop.
12. If you’ve already defined all the content and images for your landing page, you should select whether you want to publish it with your own domain from the Control Panel section or embed a code on your page.
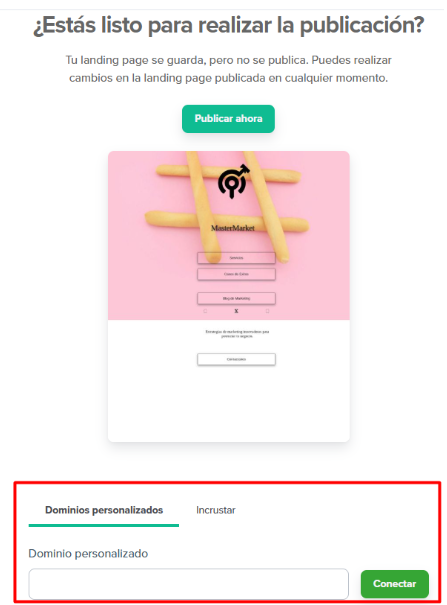
Remember that you can only publish if you have purchased a Landing Page Pack. If you haven’t already, you can do so here.
#DopplerTip: Use the quick suggestions that can help you implement the tools when designing. 🙂
We hope all this information has been helpful in creating landing pages that multiply your leads and boost your sales.
If you have any questions or comments, please contact our Support team through our communication channels: by email at [email protected] through our WhatsApp and online chat, or through our social media.
Good luck! 🙂


Doppler informs you that the personal data that you provide to us when completing this form will be treated by Doppler LLC as responsible for this web.
Purpose: To allow you to make comments in our help center.
Legitimation: Consent of the applicant.
Recipients: Your data will be saved by Doppler and Digital Ocean as hosting company.
Additional information: In the Doppler Privacy Policy you’ll find additional information about the collection and use of your personal information by Doppler, including information on access, conservation, rectification, deletion, security, cross-border data transfers and other issues.