 ES
ES EN
ENExit Cross-Selling Pop-up: Convert users before they leave
In the following article, you’ll learn how to create this widget, which will help you display Promotional Pop-ups to users who are trying to leave your site. This solution allows you to configure Pop-ups that appear when a visitor attempts to leave your website, showing recommendations for recommended products or products related to what they viewed, in an attempt to retain them and encourage conversions. This widget is available for Tiendanube, VTEX, Shopify and Adobe Commerce.
Implementing an Exit Pop-up will help you:
–Capture attention at the last moment: The Pop-up appears when the user is about to leave the page, giving them an opportunity to interact before leaving.
–Offer an attractive offer: This can include promotions, discounts, or content relevant to your customers and motivate them to complete an action.
–Collect information: It allows you to capture user data, such as their email address, through forms, which helps create a database for future campaigns.
-Improve the user experience: A well-designed Pop-up offers a fluid experience so that users can find what they need.
Let’s see how to implement it 🙂
Step-by-step guide to creating your Exit Cross-Sell Pop-up Widget
1. Log in to your Doppler account. If you don’t have one yet, sign up for free by clicking here.
2. Once in your account, go to the main menu and select OnSite Marketing.
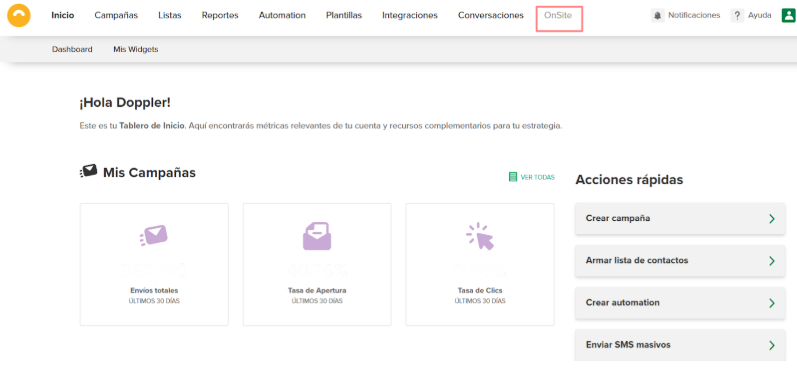
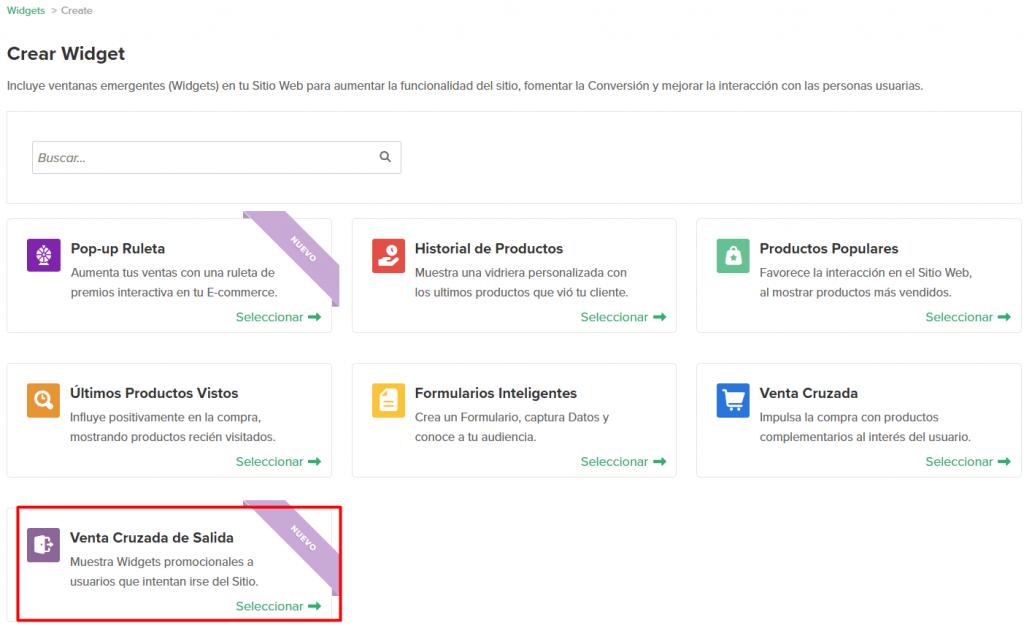
3. Click Create Widget to begin. Then, select the Exit Cross-Sell Pop-up Widget.
#DopplerTip: For OnSite Marketing to work properly, you need to integrate a tracking code into your site. There, you’ll need to complete the required information, as you can see in the following article.
4. You’ll then be able to configure aspects such as:
- Location
- Appearance
- Behavior
- Targeting
5. The first step in configuring your Cross-Sell Widget with Pop-up Exit is the Location.
The information you’ll need to complete is:
– Widget name, to differenciate it from others you create.
– Website where it will be displayed.
– Section within your website. For example, if you own a shoe store and want to display it only in the boots category, you should enter boots in this field. This means the widget will only display in that section and not on the rest of your pages.
Once you’ve completed the information, click the Next button to continue with the configuration. Don’t worry! The information will be saved automatically.
6. The next step is to configure the Appearance of your Cross-Sell Widget with Exit Cross-Sell Pop-up Widget.
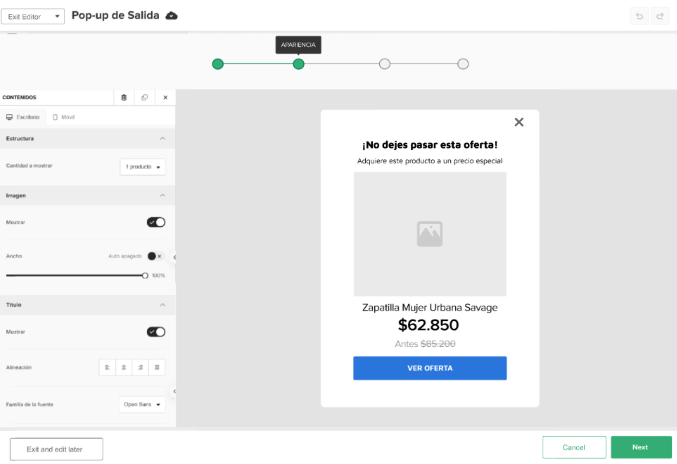
Here, you should use the Editor, which will give you the main advantage of being able to drag and drop elements in just a few clicks, without any design or layout knowledge! Within the options, you can define the number of products to display, edit the image, and set the font or alignment.
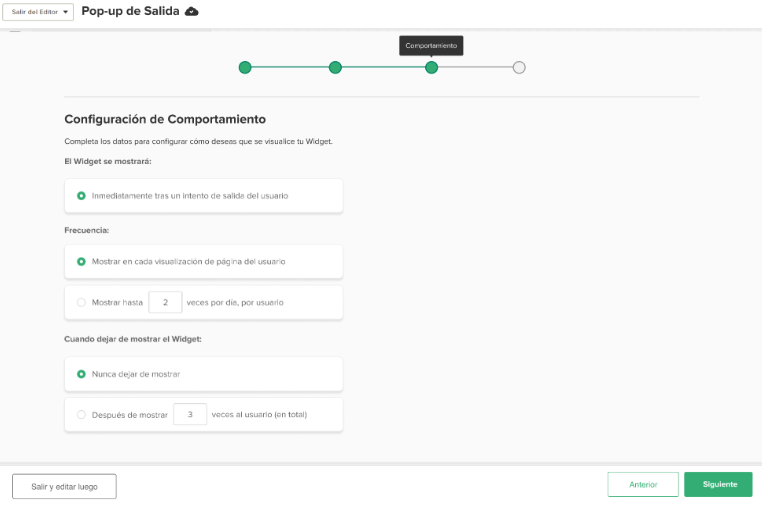
7 – The next step is to configure your Pop-up’s Behavior. What does this mean? At this point, you can plan how you want people to see it. Here are the different scenarios to choose from, such as: display immediately or schedule it, frequency, and appearance and disappearance conditions.
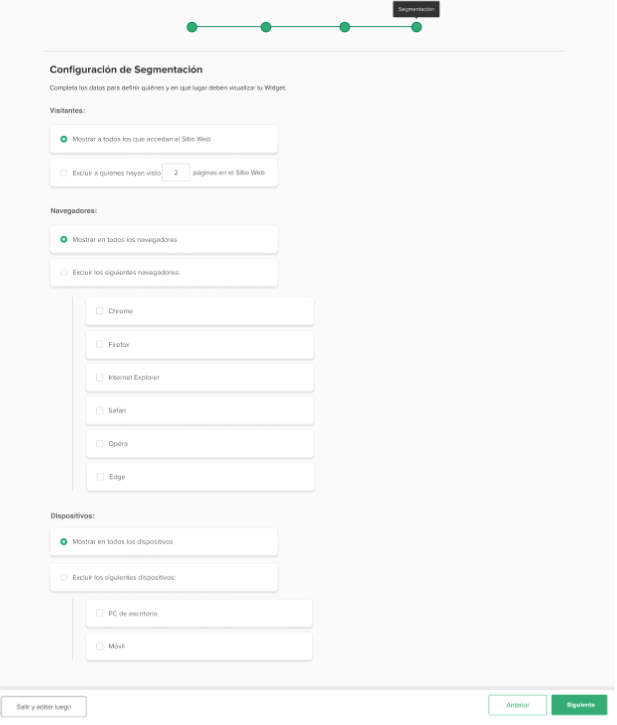
8- In the next step, “Segmentation,” you’ll be able to choose which browsers and devices you want your Exit Pop-up to appear on. You can choose to show it on all of them or exclude those you don’t want your Exit Cross-Sell Pop-up Widget to appear on. Great! Right? 🙂
Don’t forget to save your process, as you can edit it again whenever you want from the initial option in My Widgets. From here, you’ll see all the widgets you create, their date, key performance metrics, and how to activate or deactivate them, edit, duplicate, or preview them.
If you followed these steps, you’ll already know how to create an attractive and functional Exit Cross-Sell Pop-up Widgett, ready to impact and generate retention for your users from Doppler.
Note: The widget will be displayed only if there is no other active pop-up in the same session, including SmartForms, the Wheel, and/or any other Cross-Selling widget.
Do you have questions? You can contact our customer service team via WhatsApp or by email at [email protected]
We’re here to help 💛

Doppler informs you that the personal data that you provide to us when completing this form will be treated by Doppler LLC as responsible for this web.
Purpose: To allow you to make comments in our help center.
Legitimation: Consent of the applicant.
Recipients: Your data will be saved by Doppler and Digital Ocean as hosting company.
Additional information: In the Doppler Privacy Policy you’ll find additional information about the collection and use of your personal information by Doppler, including information on access, conservation, rectification, deletion, security, cross-border data transfers and other issues.