Adding Images to your Templates
Do you want to insert images into the layout of your HTML so that they look even more attractive? Discover in this article how to do it and you will see how simple it is!
Doppler’s Editor allows you to upload images and also edit them in order to obtain extraordinary results. Here we will explain in detail how to get the most out of it, so that your images look awesome.
How to insert and edit images in the Editor
To edit your template and insert your images, you must first have logged into your Doppler account. If you do not have one, you can create it for free here.
Once you have completed the previous steps, you will come to the creation of the Campaign Content, where you must select a Template. You will then access the Editor.
Here you can see, on the left of your screen, all the Elements that you can add to your design so that it looks exactly like you had thought up.

In order to add an image (or any other Element) into your design, you just have to drop and drag it wherever you want it to be displayed.
Once you have done it, you should click on Add Your Image.

On the left of your screen you will now see all the possibilities that you have at your fingertips to edit the Element. The first thing you should do is to add the image so that you can see it on your piece and continue editing.
To do so, you must click Add your Image or Edit.

Then you can, for example, change the background, remove or keep the margins given by default, modify the alignment (left, center or right), add a hyperlink (if you want your image to send the user to your site) and add an alternative text .
It is very important that you always define an alternative text so that, in case the images can not be visualized correctly due to restrictions of the Email Clients, your Subscribers can, anyway, get to know what was there and do not run out of information.
Once you finish customizing the Element, you must click on Finish Edition.
Image and Text Element: How to modify proportions
So far the explanation applies to any type of image and to any Element you choose.
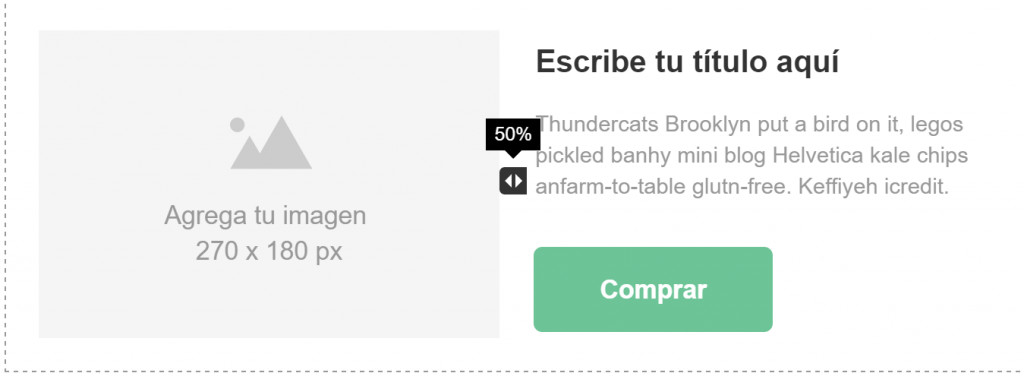
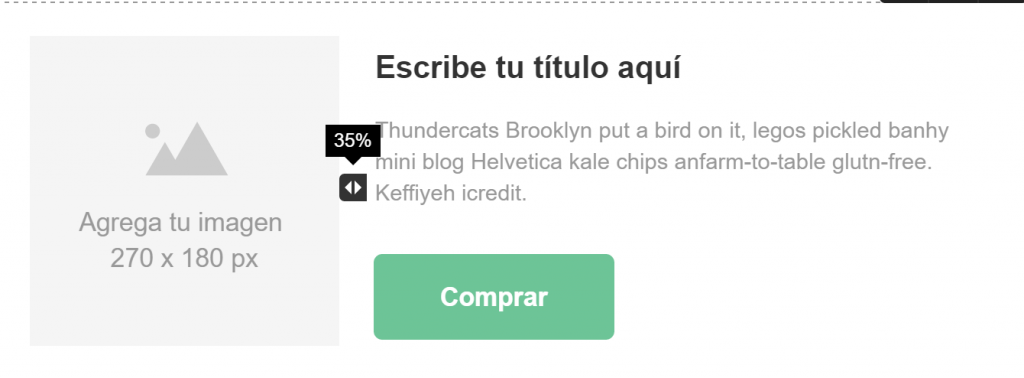
On the other hand, in the case of the Image and Text Element, you can also change the proportions to reduce the image if you want.
By default you will see that it is divided into equal proportions, but you can shrink the image until you achieve the desired measurement. It will proportionally adapt to the width you determine.
Height and width of images
Finally, we would like you to know how the measurements that your images should have.
When you add an image or use one of those already inserted as part of the Template, the placeholders usually have a width and a height reference.
The width can’t exceed the given reference and the height is just a suggestion.

In this case, your image should have a width that does not exceed 600 px and a height of 290 px is suggested. However, the height could be larger.
If, for example, you have chosen the Logo Element but you feel it is too small, you can change it for the Image Element, which fits larger images.
Put into practice what you have learned
You see all the possibilities that the powerful Doppler’s Editor offers you. Now that you know exactly how to insert images and customize them according to your preferences, you will not want to miss the opportunity to create the most effective Email Marketing Campaigns.
Start to apply all these tips as soon as possible and reach your Subscribers with irresistible pieces!

 ES
ES EN
EN


como agrego tablas?
¡Hola Hector! Muchas gracias por tu consulta, la hemos derivado a nuestro equipo de Soporte y Atención al Cliente para que puedan comunicarse contigo y asesorarte. Saludos, Claudio de Doppler 🙂
como subo una imagen que esta en JPG? o bien como la cambio a html?
¡Hola Patricia! Si deseas incluir una imagen en una de nuestras Plantillas, puedes hacerlo desde nuestro Editor. Simplemente tienes que arrastrar y soltar el elemento “imagen” al lienzo, una vez que lo hagas, podrás importar la que desees desde tu computadora haciendo clic sobra el elemento que ahora se encuentra en el lienzo. Una vez que hayas hecho eso, la imagen ya formará parte del código HTML de la Plantilla. Si tienes alguna duda sobre el proceso, puedes escribirnos a [email protected]. Saludos, Sebastián de Doppler 🙂
Cada vez que incluyo una imagen en los mails aunque sea del tamaño máximo permitido siempre la reduce y le añade un borde (margen) alrededor. Hay forma de quitar ese margen?
Hola Mario, ¿has podido solucionarlo? De lo contrario escríbenos un correo a [email protected] y te ayudaremos. Saludos, Joaquín de Doppler.