 ES
ES EN
ENHow to activate and send Push Notifications?
Do you send Campaigns frequently and do you like to be in contact with your customers? Brilliant! 🙂 Now we incorporate Push Notifications and you can take advantage of it as a new channel for sending messages from your brand. Read below what this functionality is about and how you can configure it to send immediate, scheduled or automated pushes according to different conditions.
What are Push Notifications?
To begin, let’s understand what Push Notifications are. They are short messages that can be sent to visitors to your Website both on desktop and mobile, they can have promotional or informative content about your brand, as well as incorporate links and redirect the user wherever you want, fantastic, right? Now yes, it is important that for your Contacts to receive this Push Notification, they have previously confirmed permission to receive them.
What are the main benefits of the functionality?
Once you start sending Push Notifications, it is important to note that this functionality has a higher acceptance rate than other delivery channels, since it does not require data request. You will also enjoy the following advantages:
- Send simple and effective alerts to Contacts who have subscribed.
- Notify about news, information, promotions or launches of your brand.
- Redirect Contacts to your Website.
- Communicate your messages, which will be displayed as Push Notifications on different devices, even if the user is not browsing your site 😉
How to configure the sending of your push notifications?
You can configure the functionality as follows:
1.Sign in to your Doppler account.
1.1 Go to the Control Panel from your avatar.
1.2 In the Campaign Preferences section, select On-Site Tracking and Push Notifications.
1.3 From the Site Tracking and Push Notifications screen, you must enable Site Tracking, because in order to capture who wants to receive push notifications, you need to have this section enabled.
1.4 Enter the domain on which you want your customers to activate Notifications. Important: click on the Configure Domain button. Also, you should know that with your Doppler account you will be able to track several different domains but not the other way around: the same domain cannot be registered by multiple users. 😉
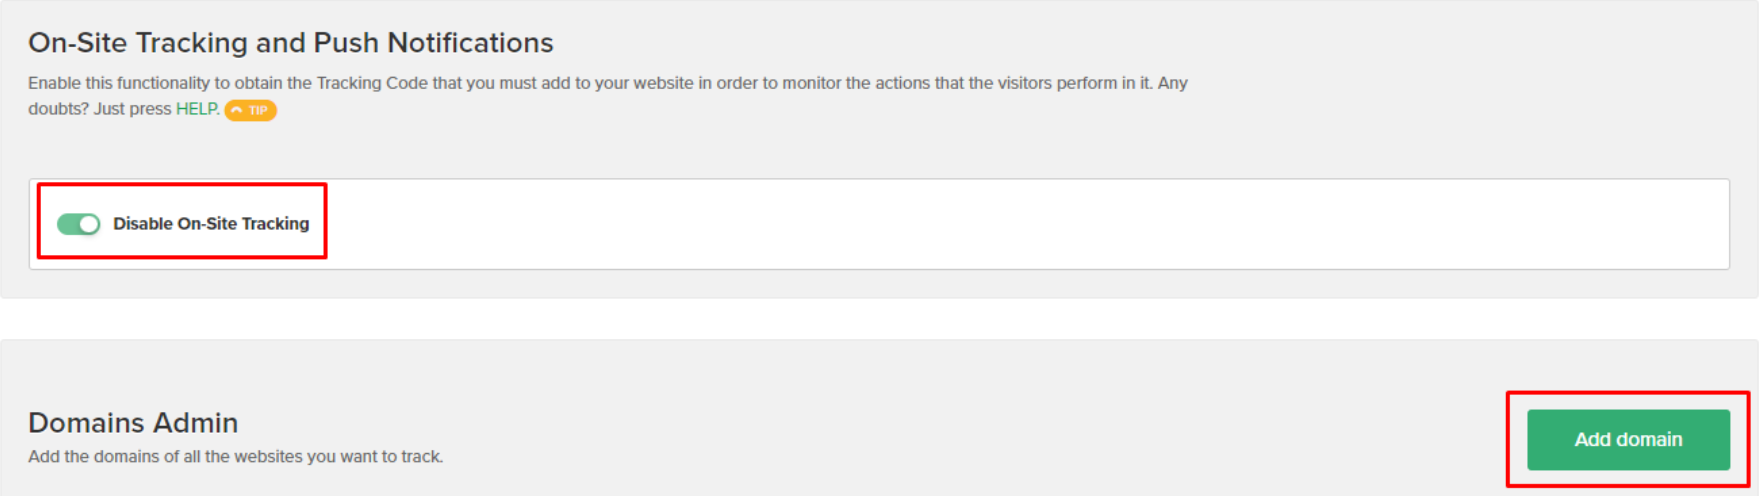
2. Add the domain (remember you can add more than one). Do not forget to add the prefix www. if appropriate. And make sure that:
– Your domain is HTTPS
– Have access to the server where your site is hosted.
– If your site is an E-commerce, you can configure it in these types: WordPress, Easycommerce, PrestaShop, and Magento.*
*In the event that you have another type of e-commerce such as Tiendanube, for the moment, it is not possible to configure Push Notifications. We are currently working to make this configuration as soon as possible in a simple way.

3. Once the domain is added, you will obtain a Tracking Code, which you must copy and then insert in the code of each page that you want your contacts to receive the notification acceptance message. There are 2 ways to do it:
- Pasting it directly into the HTML tag of your Site.
- Inserting it through Google Tag Manager.
Important: In case you already have on-site tracking configured previously, it is not necessary to paste the code again for the push notification configuration.
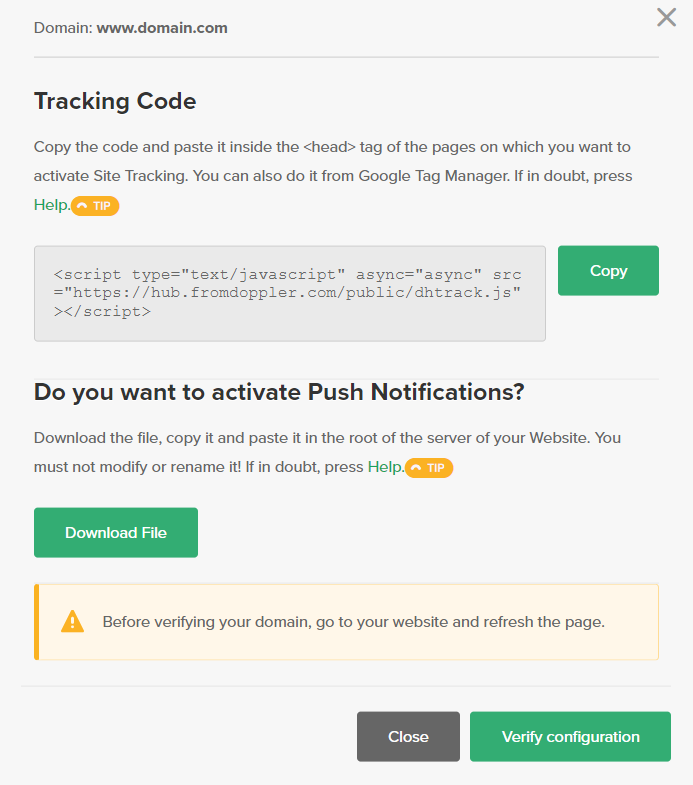
4. Once the script has been copied and pasted into the corresponding site, you will need to download a file by clicking the Download File button, and paste it into the root of your website’s server. #DopplerAdvideYou: you should not modify or rename it.
5. You must verify that the configuration is correctly done. To do this, click on the “verify” button that corresponds to the domain on which you are making said configuration. After a few seconds, you will be able to see the result of the verification reflected, under the statuses of Site Tracking and Push Notifications.

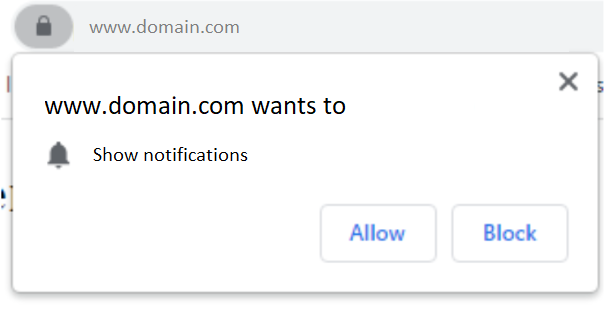
#DopplerAdviceYou: Once the verifications are successful, we suggest you browse the recently added site and give the permissions to receive Push Notifications. To do this, click “allow notifications” when the message appears. If this message does not appear immediately after entering the site, you can click on the lock icon and give permissions from there.
How to send Push Notifications?
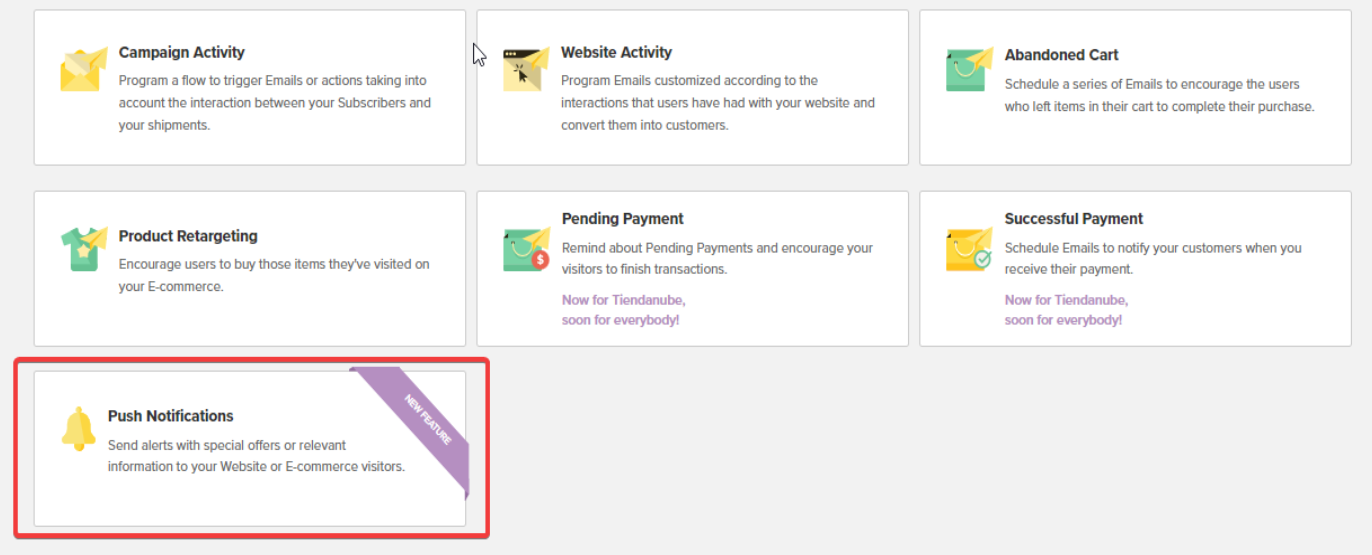
- Go to the Automation section and click on the Create Automation from scratch button. There choose the Push Notifications option.
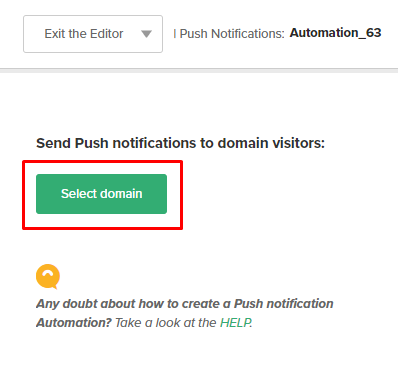
- You must click on “Select domain”.
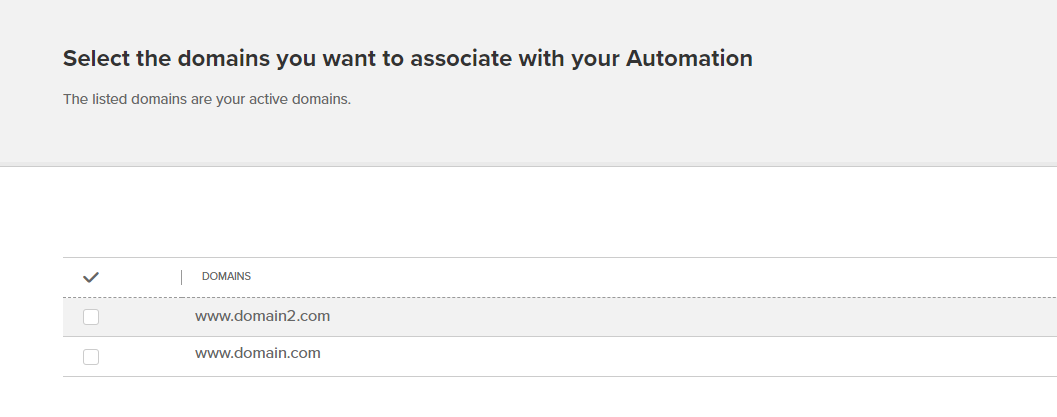
- Choose the domain.
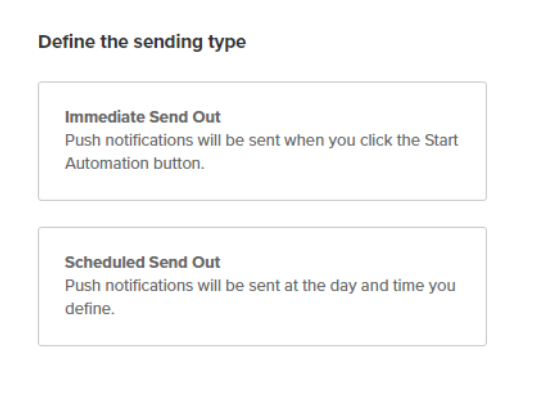
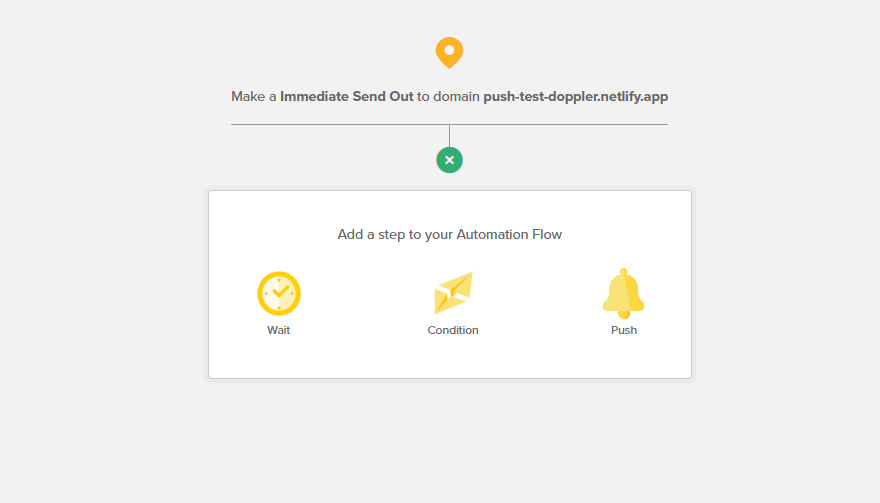
- Select “Type of shipment” and there you can choose to make an Immediate Shipment or a Scheduled Shipment.
- Then set a timeout to trigger the next action, the sending of a push or the fulfillment of an on-site behavior condition. Is the same procedure as in any other Automation.
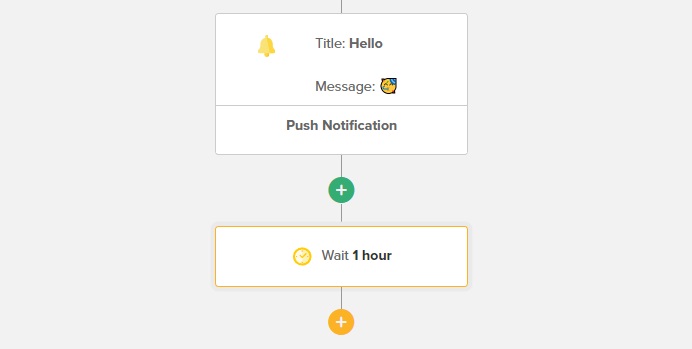
- Set up a push with a timeout of, for example, one hour.
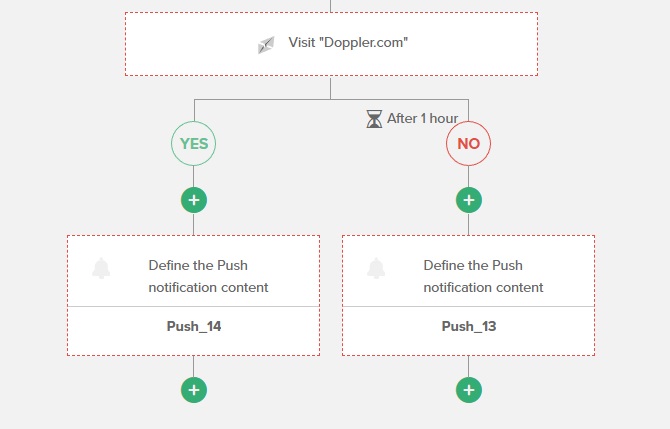
- Then a condition is inserted to check if the subscriber visited a website and two actions, depending on whether he did or not.
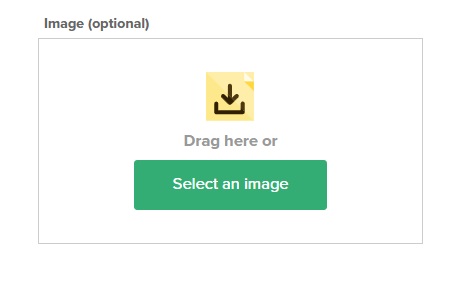
- You can include an image in your push notifications. With the “Select Image” button, choose the file from your computer or simply drag it there. Keep in mind that the image must be in PNG format.
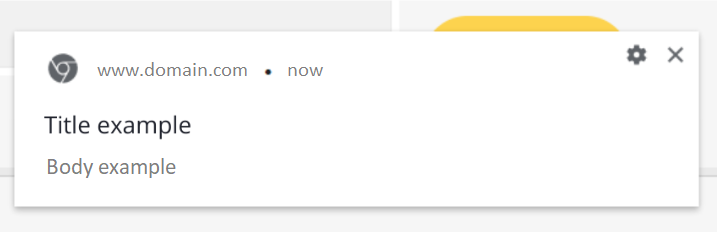
- Select “Start Automation” and you are ready! Your push notifications will be sent on the date and time you set. If you previously agreed to receive them, they will reach you too. Visitors to your website will see it like this:
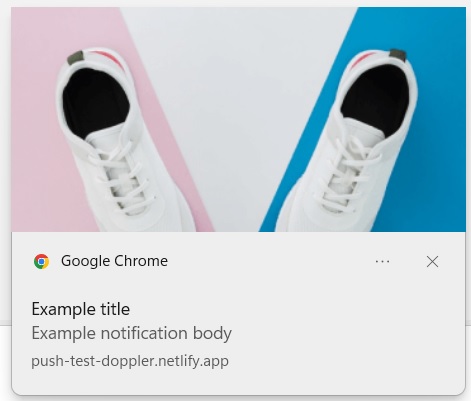
In case the push notification contains an image, they will see it like this:
Can I set up Push Notifications on different sites?
Yes! As we mentioned at the beginning of the article, a Doppler account can track multiple domains.
If you want to send different notifications on different sites, you must repeat the configuration process that we explained before, for each Push Notification that you want to send.
If you want to send the same notification on different sites, you must enter the Automation of that Push Notification, click on “Select domain” and choose all the domains you want to include in the list.
How to see the delivery reports?
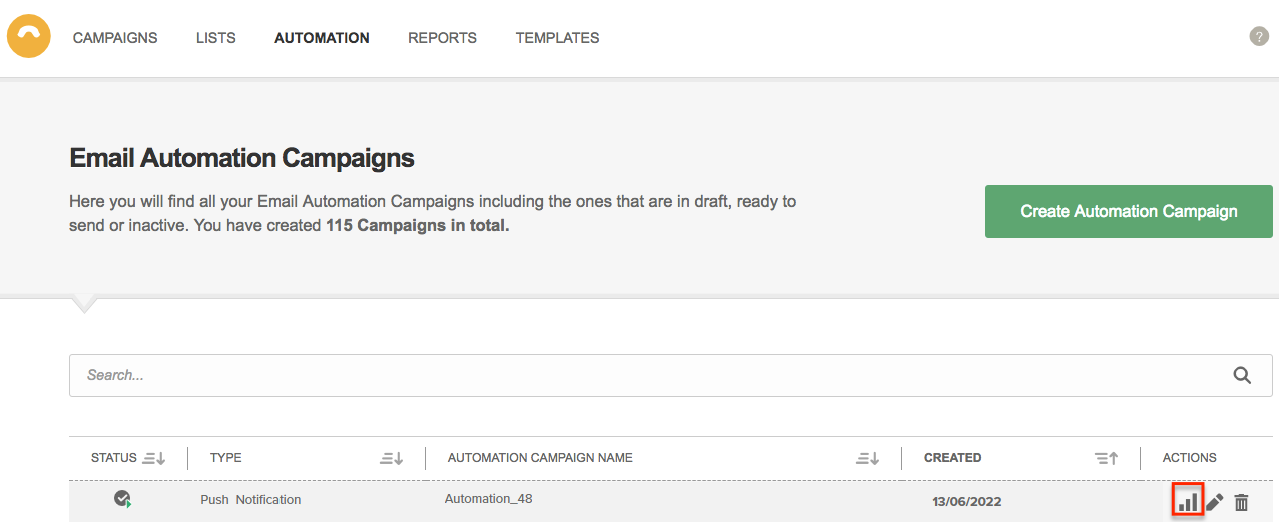
To see the delivery report of your Push Notification, go to the Automation section.

Once there, you will see all the Automation Campaigns you have created. You can use the searchbox to find the one you want to analyze.
Once you have found it, you will see on the right three possible actions to execute. The first is Reports, the second is Edit, and the third is Delete.
In this case, you will access Reports.
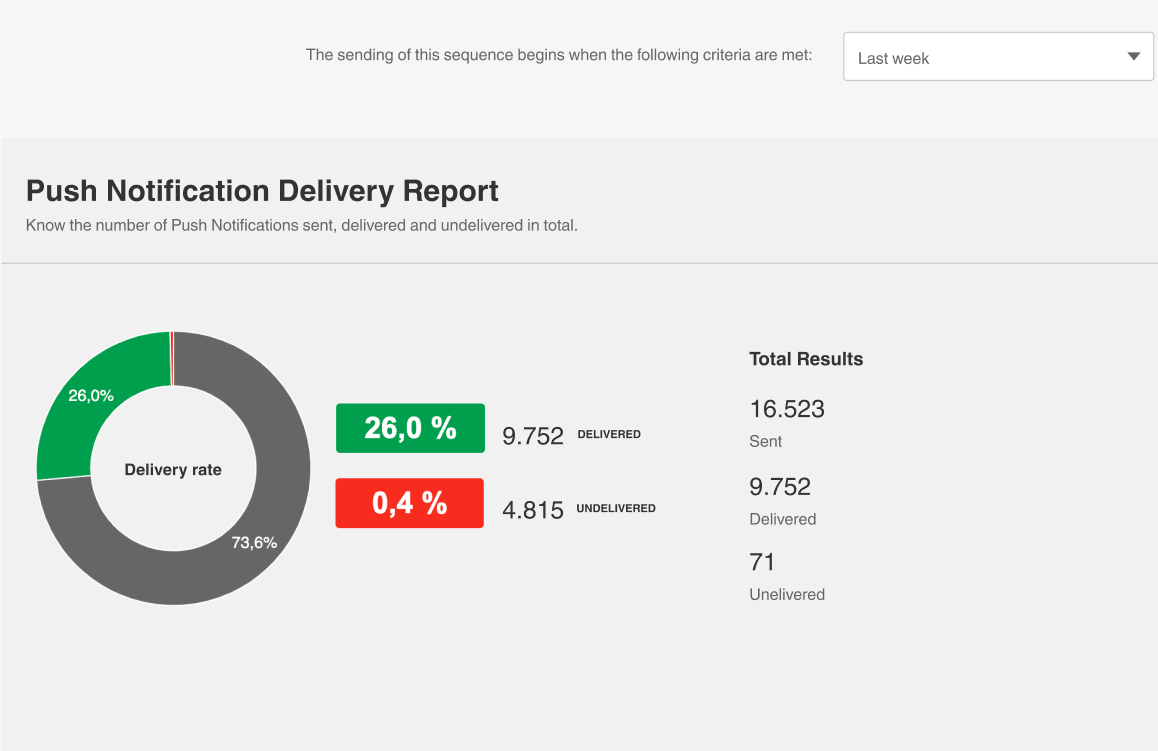
When you enter Reports, you will find the details of the sending of your Push Notification. You will find the shipping rate, the number of deliveries and you can filter the information by different periods of time.


Doppler informs you that the personal data that you provide to us when completing this form will be treated by Doppler LLC as responsible for this web.
Purpose: To allow you to make comments in our help center.
Legitimation: Consent of the applicant.
Recipients: Your data will be saved by Doppler and Digital Ocean as hosting company.
Additional information: In the Doppler Privacy Policy you’ll find additional information about the collection and use of your personal information by Doppler, including information on access, conservation, rectification, deletion, security, cross-border data transfers and other issues.