 ES
ES EN
ENHow to create a Decision Tree?
With your Doppler account, you can use this new solution that allows you to Automate your Chatbot in order to design the communication path with the user, guide them to give them instant answers and not lose contact or sales opportunities.
What can you do when setting up your Decision Tree?
- Visually design a conversation flow for your Chatbot.
- Refer to human attention or different response options.
- Request contact information if it is through your Website.
- Control the interactive messages that the user will receive.
Let’s see how you can set it up step by step:
- Log in to your Doppler account and go to the Conversations menu.
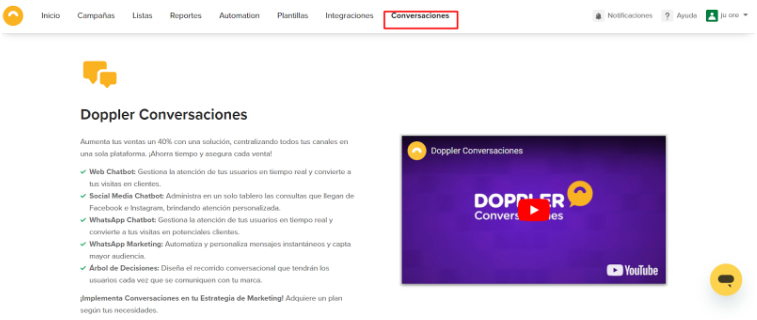
#DopplerTip: You can try Doppler Conversations on your free account for 3 months or purchase it as part of your plan if you already have an account.
2. Once there, click on the Settings option on the left menu and select Conversation Flows and click on +New Flow

#DopplerTip: Only the administrator can see, create and assign conversation flows
3. Now let’s review the options you will have to configure your Decision Tree
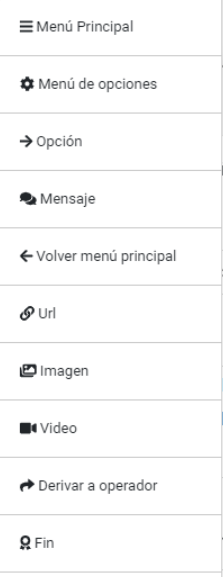
- Main Menu: Used to indicate the first menu in the flow
- Option Menu: Used to add options to branches in the flow
- Option: Used as the start of a branch for the main menu or options menu
- Message: Text message to display, may or may not wait for a response
- Return to Main Menu: An option to return to the main menu
- Url: Used to send the URL of a link
- Image: Image type message, supports files up to 5 MB.
- Video: Video type message, supports files up to 5 MB.
- Shunt to Operator: End of a branch that pauses the bot and waits for a human to respond
- End: Indicates the end of a branch without a branch and restarts the bot for that contact
4. Don’t forget to click the Save button! The flow will be closed and will be available to assign to the room you want to automate.
5. Once you have configured the flow as you wish, here you must assign a room to which that Conversation Flow will guide the people who contact your brand.
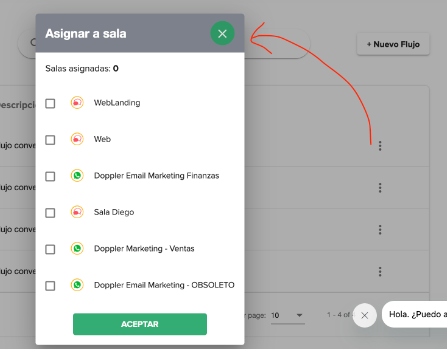
#DopplerTip: You can only assign it to rooms that do not have a flow assigned to them.
6. After creating your Decision Tree, you will see in the list: the name, a brief description and the usage status. 3 key categories that will make it easy for you to find your different Flows, when you start to have several created. 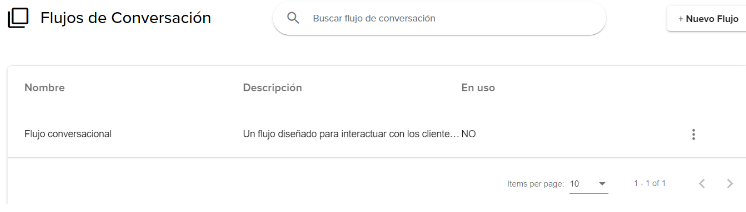
Great! You learned how to create a Decision Tree that will allow you to make communication with your brand more effective and user-friendly. This way, you will be able to resolve their doubts quickly and even refer them to someone on your team so that you don’t lose sales opportunities. 🙂

Doppler informs you that the personal data that you provide to us when completing this form will be treated by Doppler LLC as responsible for this web.
Purpose: To allow you to make comments in our help center.
Legitimation: Consent of the applicant.
Recipients: Your data will be saved by Doppler and Digital Ocean as hosting company.
Additional information: In the Doppler Privacy Policy you’ll find additional information about the collection and use of your personal information by Doppler, including information on access, conservation, rectification, deletion, security, cross-border data transfers and other issues.