 ES
ES EN
ENHow to connect Doppler with Shopify to automate your sales
Scale your business by integrating Doppler with Shopify
Boost your Shopify store with the power of email, automation, and data marketing! By integrating Doppler with your store, you not only automate your communications but also transform browsing data into real sales opportunities.
This guide explains how to make the initial connection to start using advanced personalization tools that will grow your revenue:
Setup and Tracking:
- Learn how to insert the tracking script into your site and correctly identify the origin and type of each subscriber.
- Sales Recovery: Activate Abandoned Cart Automation to recover potential customers who didn’t complete their order.
- On-Site Marketing Strategies: Increase your average order value with widgets for Popular Products, Cross-Selling, and strategic exit pop-ups.
- Intelligent Segmentation: Use RFM Analytics to classify your customers based on their purchasing behavior and define custom conditions for your dynamic links.
- Impact Analysis: Measure the return on investment of your campaigns with detailed Assisted Sales reports.
How to integrate Doppler with your Shopify store step by step
1- To begin, login to your Doppler account and go to the Control Panel. There you’ll see the Shopify icon.

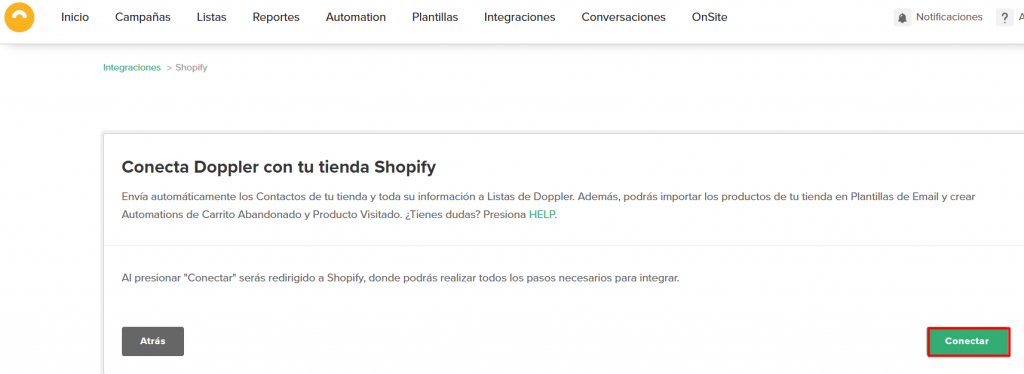
2 – Now, you’ll need to connect your Shopify store to your Doppler account. When you click Connect, you’ll be redirected to Shopify, where you can complete all the necessary integration steps.
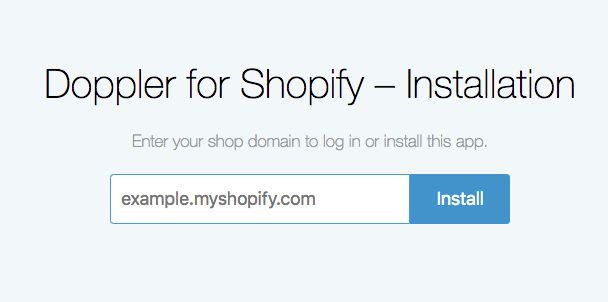
You’ll see the following screen. Enter your store’s URL and click Install.
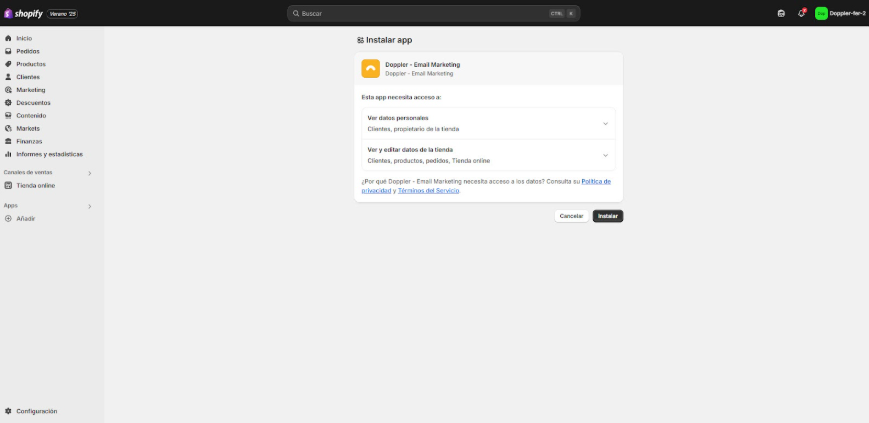
3- In this step, you must grant the necessary permissions to install the Doppler app. Press the Install button.
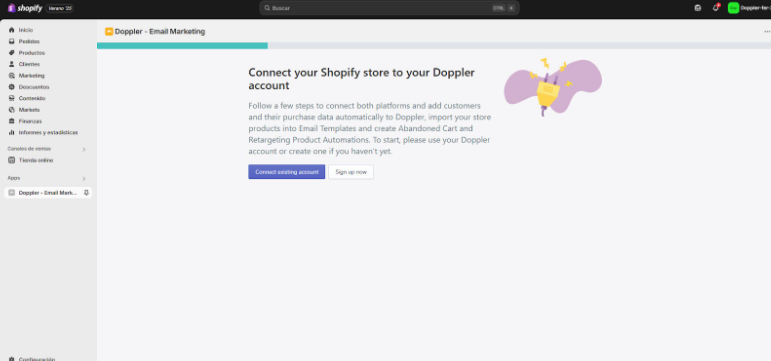
4 – Next, you’ll have to choose between two options: If you already have a Doppler account, click Connect existing account. If you don’t have one yet, click Sign up for free and complete the form to register with Doppler.
If you already have a Doppler account or have just registered, you need to connect both platforms. Choose the Subscriber List you want to send your store’s contacts to, if you’ve already created one in Doppler. If you haven’t already, click the “Create a new Doppler list” button. Don’t forget to save your progress 😉
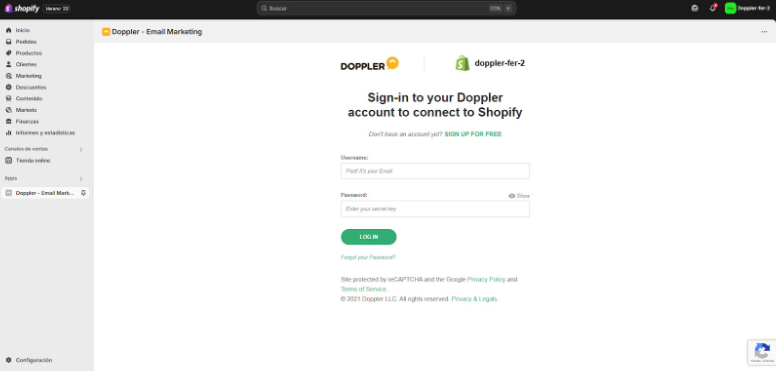
5 – Now, you must log in to Doppler with the username and password you used to register.
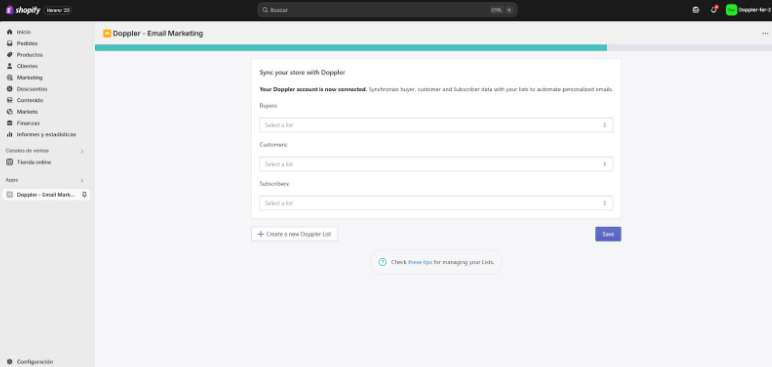
6 – Now sync your Shopify store with Doppler. It’s time to connect your Doppler lists of customers, clients, and subscribers.
7- It’s time to connect the Custom Fields for your Lists. Here, you must select the field in Doppler that you want to map to the field in Shopify. It’s important to remember that you must create the custom fields before connecting them in your Doppler account.
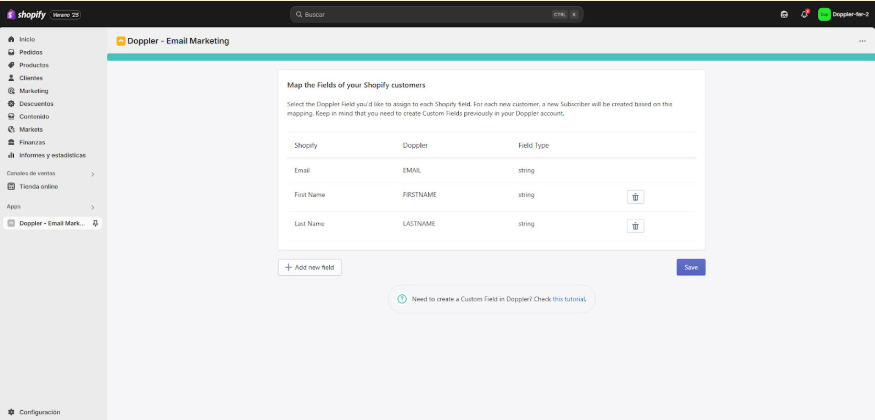
8- It’s time to map the Custom Fields. This means you must add the fields whose data you want to import into Doppler. For example, your customers’ addresses or their birthdays. Keep in mind that each field you want to map must be previously created in both Doppler and Shopify.
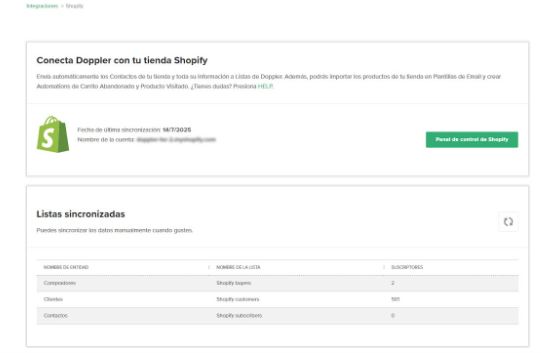
There you’ll see the options available for your Campaigns. You’ll have Synchronized Lists and the Shopify admin panel available for Automated Sends.
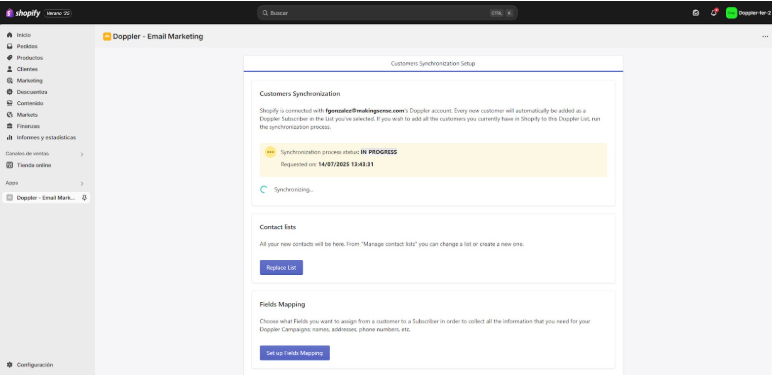
The next step is to sync the data, that is, send it from Shopify to Doppler. If successful, you’ll see the COMPLETED status and the custom fields you selected. You’ll then access a panel from which you can edit any of the previous steps, such as replacing Lists, Custom Fields, Contacts, etc.
That’s all! You now have your Doppler and Shopify accounts integrated and your contacts synced. Now all that’s left is to create your campaigns and automated email flows to turn them into loyal customers of your brand.
IMPORTANT: If a customer is removed from the store, they must be manually unsubscribed from the Doppler lists.
Enjoy the integration!


Doppler informs you that the personal data that you provide to us when completing this form will be treated by Doppler LLC as responsible for this web.
Purpose: To allow you to make comments in our help center.
Legitimation: Consent of the applicant.
Recipients: Your data will be saved by Doppler and Digital Ocean as hosting company.
Additional information: In the Doppler Privacy Policy you’ll find additional information about the collection and use of your personal information by Doppler, including information on access, conservation, rectification, deletion, security, cross-border data transfers and other issues.