How to integrate Doppler with OptinMonster through Zapier
Are you looking to connect OptinMonster with Doppler? If so, we have good news for you! Using Zapier you’ll be able to do it, simply by taking advantage of the power of Webhooks. Keep in mind that Zapier is a paid service. Although they provide a free trial if you wish to test their services and determine if they’re a good fit for your needs. Check out this post and see how you can easily integrate with more than 800 apps.
Don’t have a Doppler account yet? Sign up for free!
Step by step to connect Doppler with OptinMonster via Zapier
This integration starts with a Zap. Once you’ve logged into your Zapier account, you’ll need to create a new Zap. Just click the “Make A Zap!” button at the top of your account.
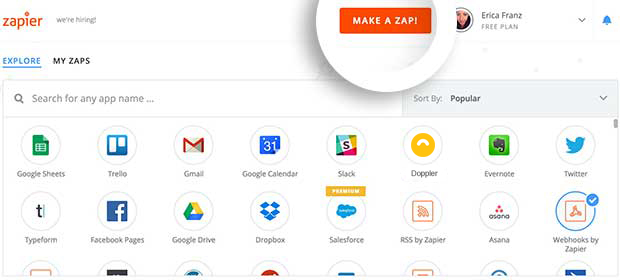
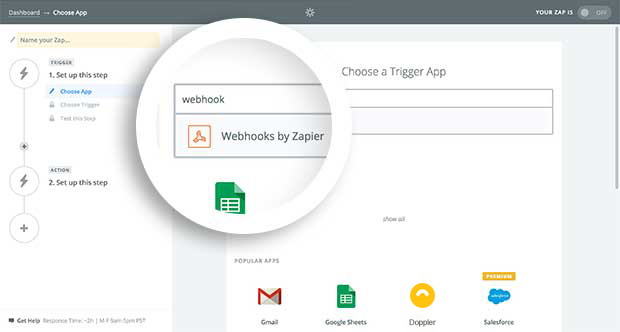
Zapier will ask you what type of “Trigger” you want to create, and you just need to select the “Webhooks by Zapier” option.
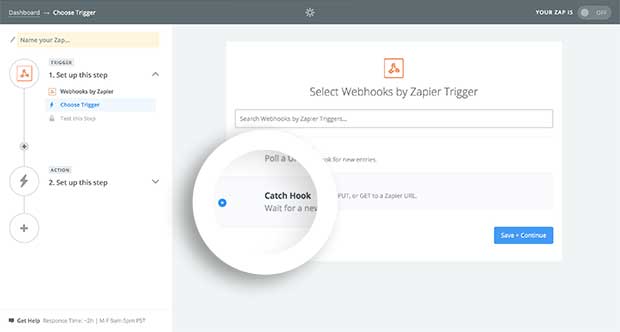
Now a few configuration options will appear on your screen. The first is whether you want your Webhook to be a “Retrieve Poll” or “Catch Hook”. Choose “Catch Hook”.
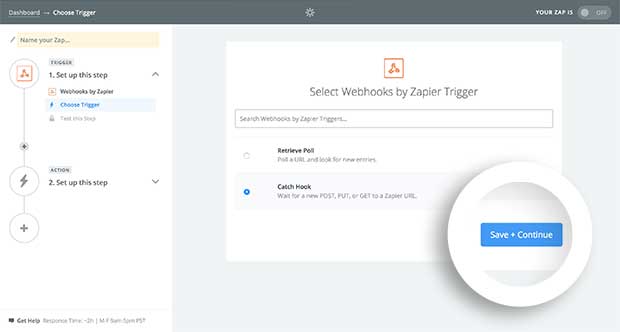
Then just click the “Save + Continue” button.
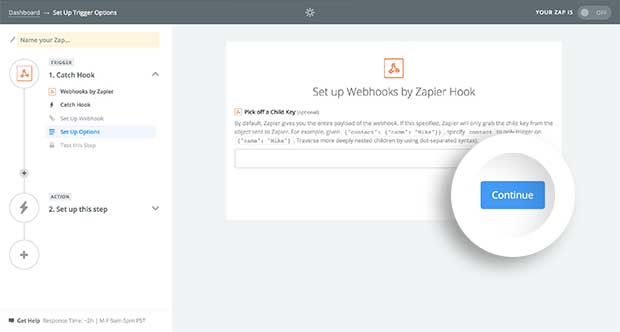
Now Zapier will provide you the option to Pick off a “Child Key”. Leaving this option blank will allow you to access all the data available in your OptinMonster account. In this example we’re going to leave this field empty and click the “Continue” button to proceed.
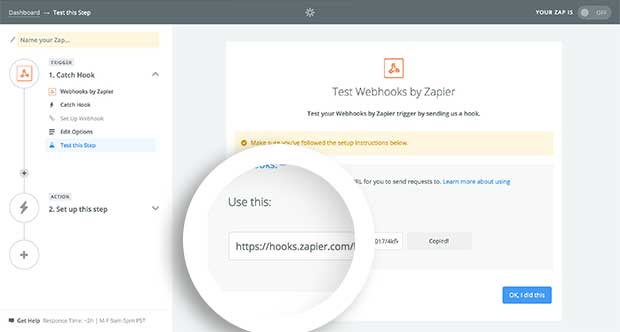
Finally, Zapier will give you a Webhook URL. This information must be used in the upcoming steps, so just save it in a Notepad.
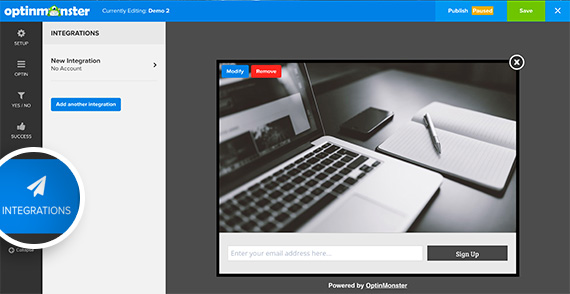
Now it’s time to connect the Webhook with OptinMonster. In order to do this you should create a campaign in OptinMonster. Once you are located inside the “Campaign Builder” select the “Integrations” tab to view the “Integrations panel“.
Input Webhook in the “Email Provider” field.
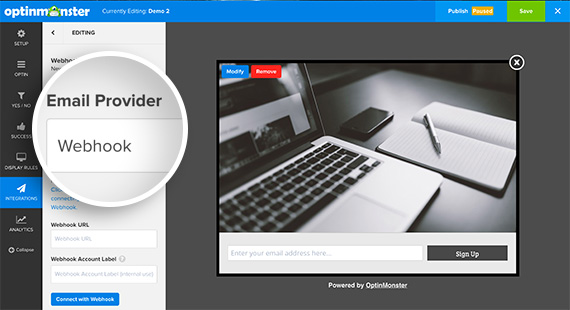
After that, just paste the Webhook URL provided by Zapier in the “Webhook URL” field. You could also add a unique “Account Label” for easy future identification.
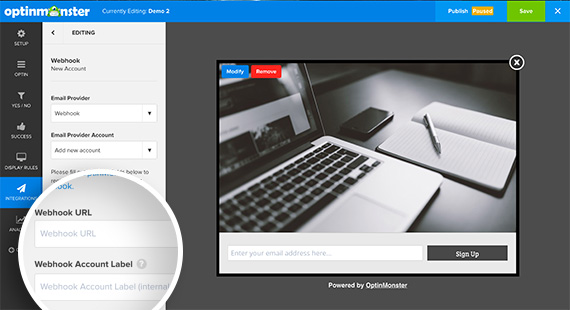
Now you just need to click the “Connect with Webhook” button.
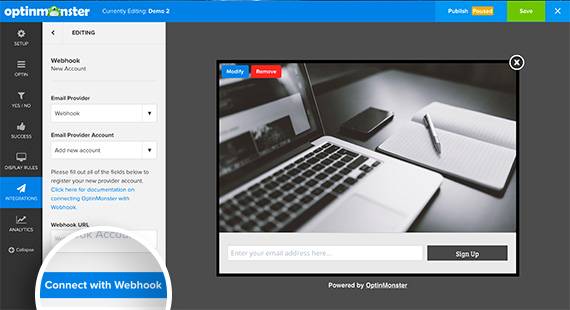
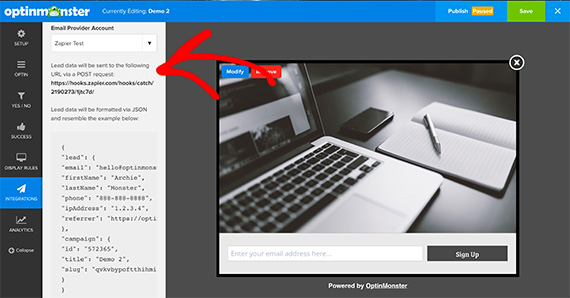
Once connected, you’ll see the following message in the “Integrations” panel:
It’s time to test your Webhook in Zapier to ensure it’s working properly. Return to the Zap setup screen in your account and click the “OK, I did this” button.
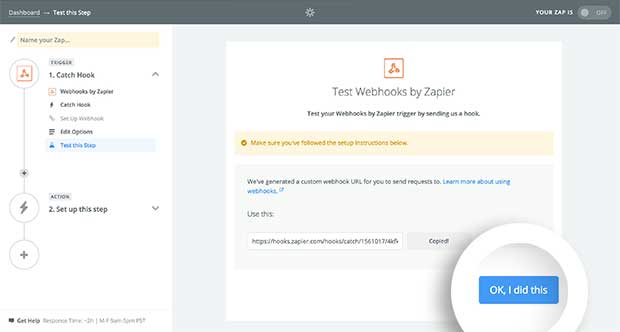
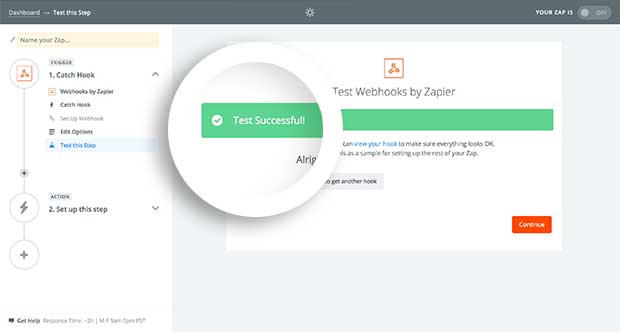
If the whole process was correct you’ll see a “Test Successful!” message in Zapier.
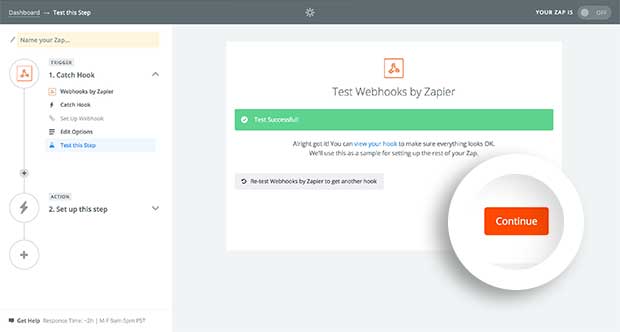
Now that you’ve connected your Zapier Webhook to OptinMonster, you’re ready to configure the data that will be sent for each campaign submission. Select the “Continue” button in the Zap setup screen to proceed.
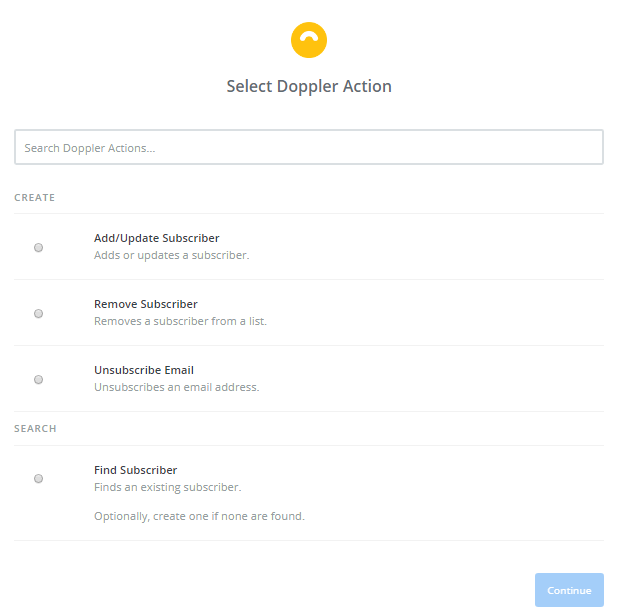
Finally it’s time to select Doppler and define which action will the integration perform in your account. Keep in mind that you can “Add”, “Update” or even “Remove” Subscribers from any of your Lists.
And that’s it! Now it’s time to convert leads into clients!
Have a great Campaign!

 ES
ES EN
EN


Doppler informs you that the personal data that you provide to us when completing this form will be treated by Doppler LLC as responsible for this web.
Purpose: To allow you to make comments in our help center.
Legitimation: Consent of the applicant.
Recipients: Your data will be saved by Doppler and Digital Ocean as hosting company.
Additional information: In the Doppler Privacy Policy you’ll find additional information about the collection and use of your personal information by Doppler, including information on access, conservation, rectification, deletion, security, cross-border data transfers and other issues.