How to integrate Doppler with HubSpot through Zapier
If you are a HubSpot user and you would like to import into your Doppler account every new contact generated, we have great news for you! Now you can do it in a second with this new integration between both apps.
Zapier is an awesome online tool which allows to interact with almost 800 web apps. This means that using Doppler to stay in touch with any contact is easier than it used to.
This is a really simple step by step guide which will teach you how to integrate Doppler with HubSpot. But first we recommend you to visit this article where we explain some concepts that you need to know about Zapier.
Step by step to integrate Doppler and HubSpot through Zapier
1. In order to begin with the sync between Doppler and HubSpot, first you’ll need to log into your Zapier account. If you don’t have one yet, you can create it here.
If you have a free account you will be able to use 5 Zaps of up to 2 steps (a Trigger and 2 Actions). If you need more Zaps, access to Premium applications or multi-step Zaps and autoresponder tasks, you will need to get a paid plan.
2. Once you have your Zapier account up and running you will be able to create this specific Zap. In order to do that, simply select the “Use this Zap” option which appears in the box below.
3. You will be redirected to this screen. Here, simply choose the “Create this Zap” option.
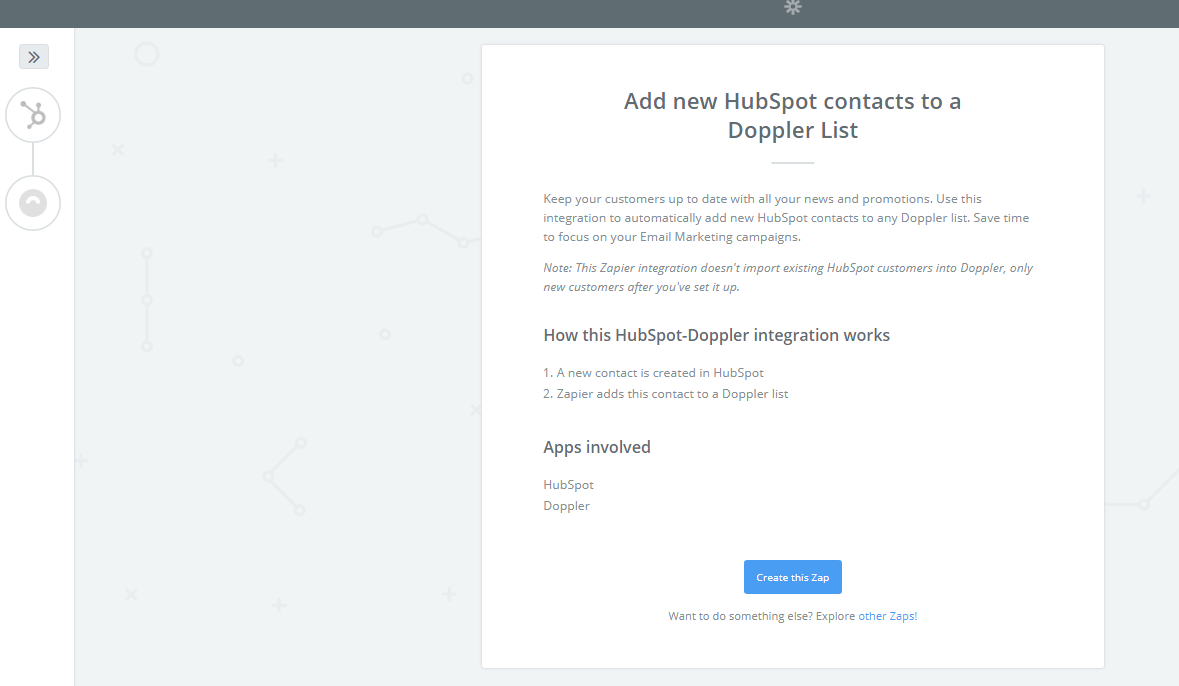
4. Now you need to configure your new Zap. Click the “Continue” button to continue the journey.
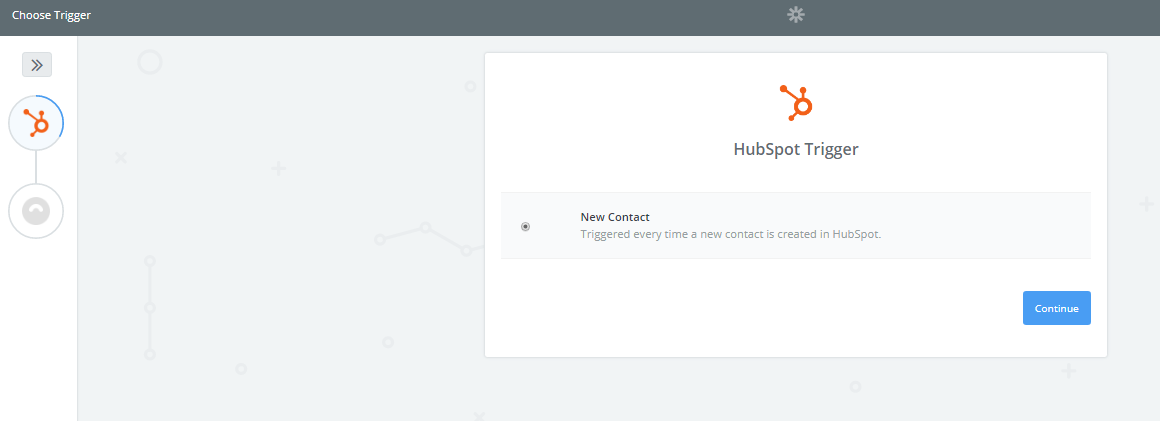
5. If you are logged in to your HubSpot account you will be prompted to enter your Hub ID. After that, you will need to authorize Zapier to interact with your HubSpot account. Then you have to click on the “Test” button to assure that the connection was successful.
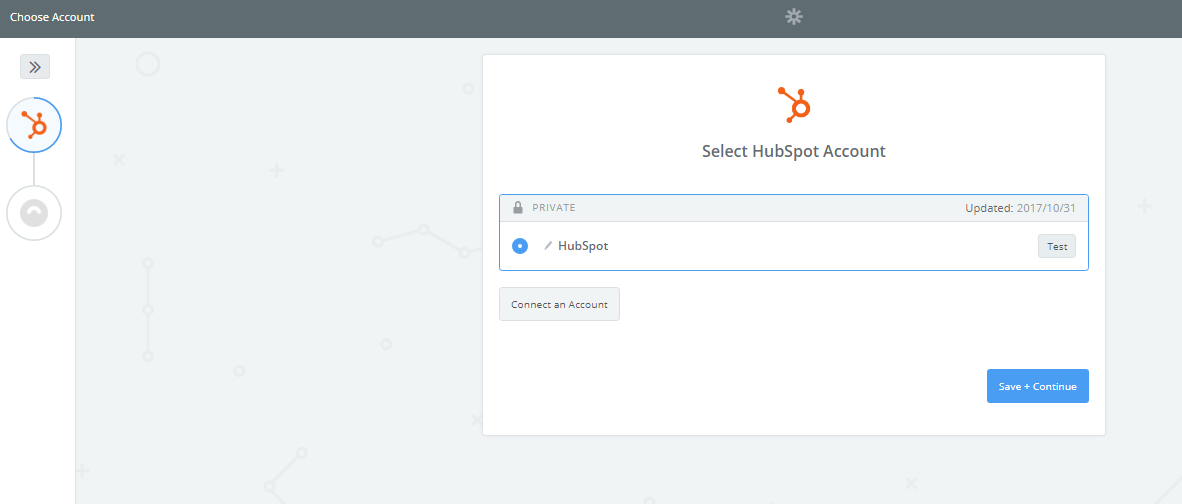
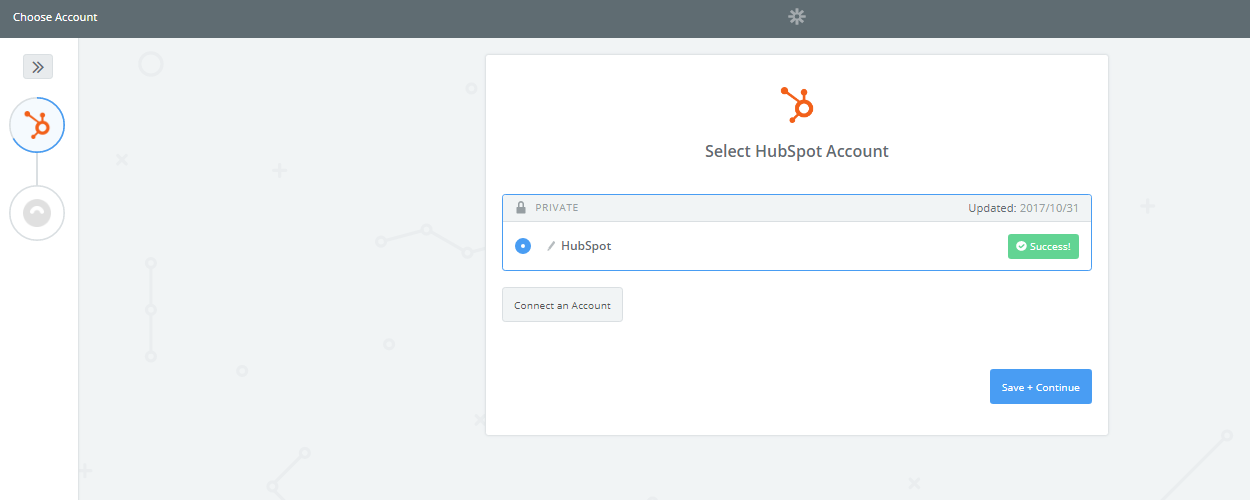
6. Once Zapier completes the test you will see a green button with the text: “Success!” Next click on “Save & Continue”.
7. Now it’s time to run a new test, for this instance you need to generate a new contact in your HubSpot account. Once you have it, just click on “Fetch & Continue”.
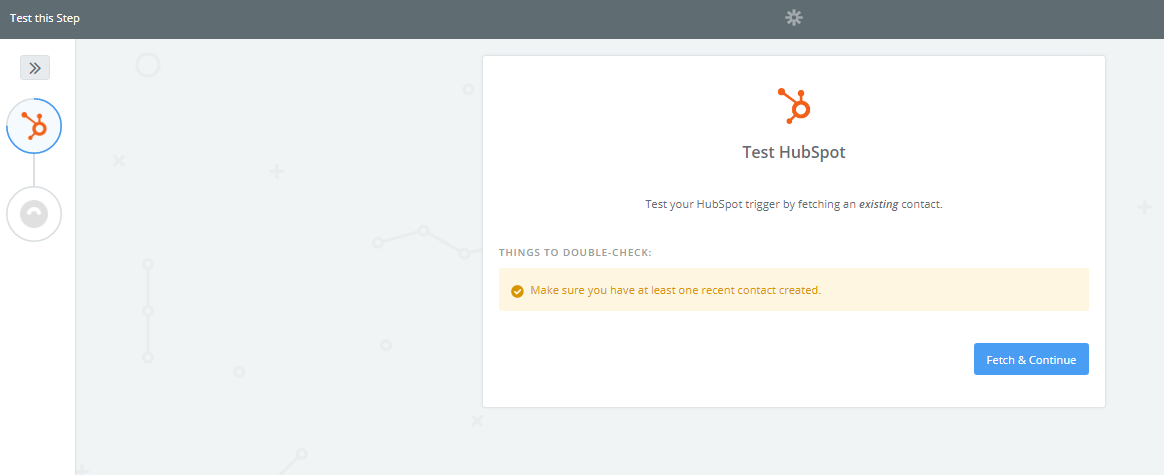
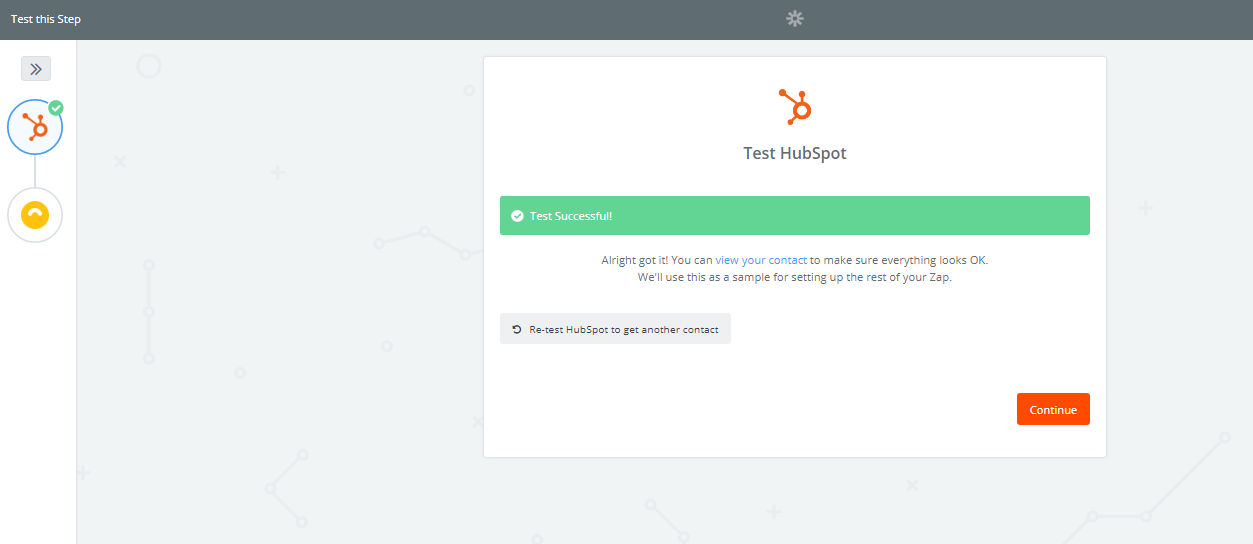
8. Zapier will perform the test and if it’s successful, you will see this screen. If so, just click “Continue”.
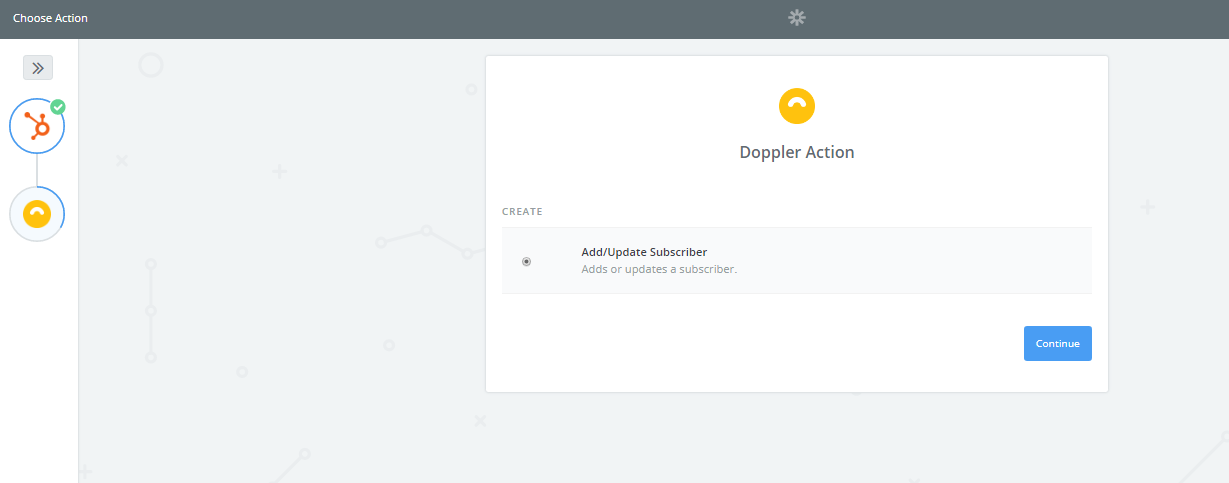
9. The next thing you will have to do is configure the Action of your Zap. As you can see in the image below, the option “Add/Update Subscriber” will be already selected. Just press the “Continue” button.
10. Now you have to connect with your Doppler account. In order to do that click on “Connect an account”.
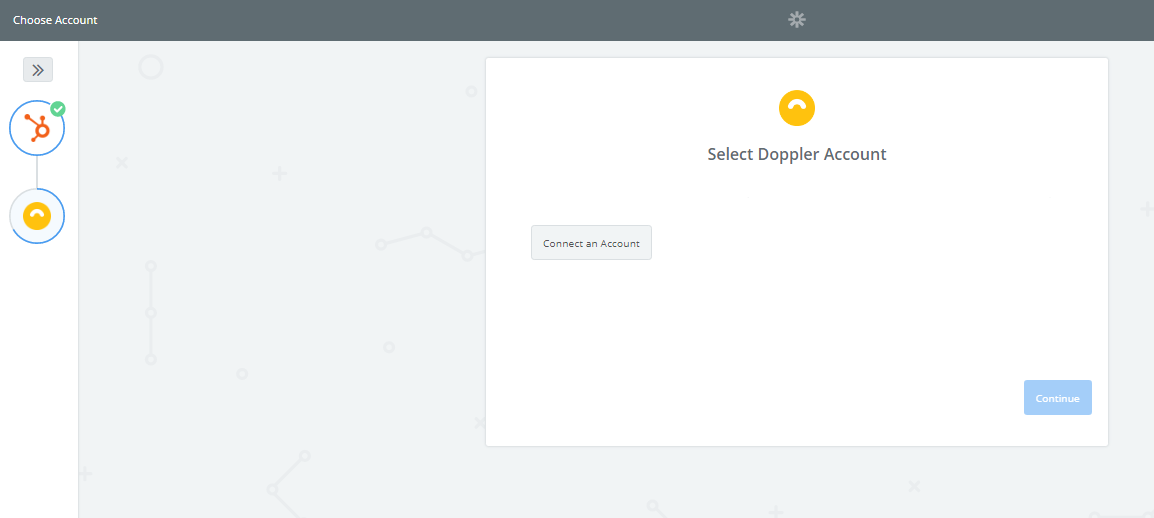
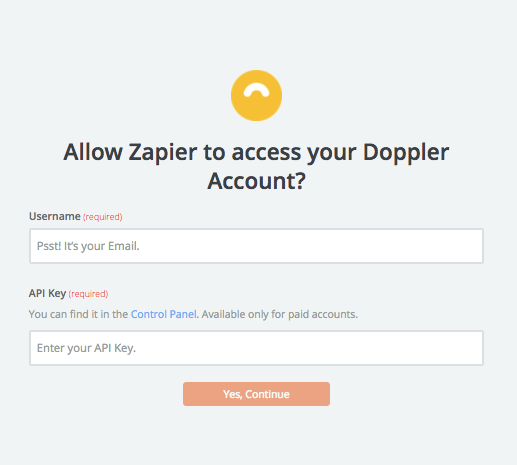
11. Zapier will ask you to enter the username and the API Key of your Doppler account. Read this article to know where your API Key is. Then click “Yes, Continue”.
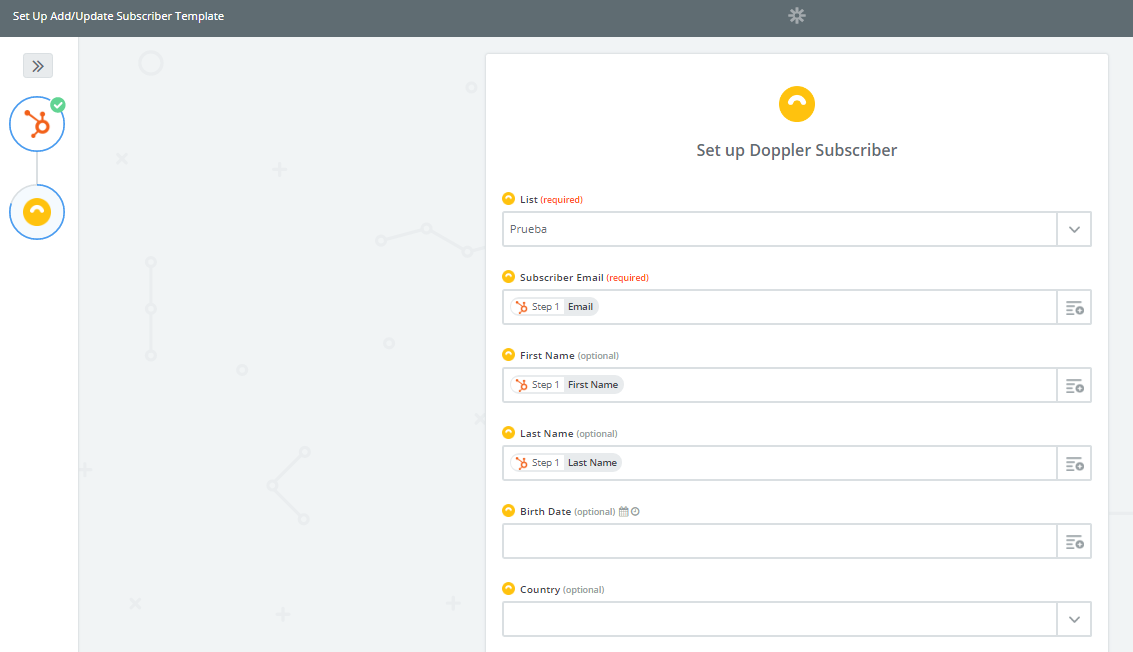
12. Select the Subscriber List in which you want to use in order to import your HubSpots contacts. Then verify that each field is assigned with the correct data and click “Continue“. Pay attention! Do a right field mapping to guarantee that any important info won’t be lost during the sync.
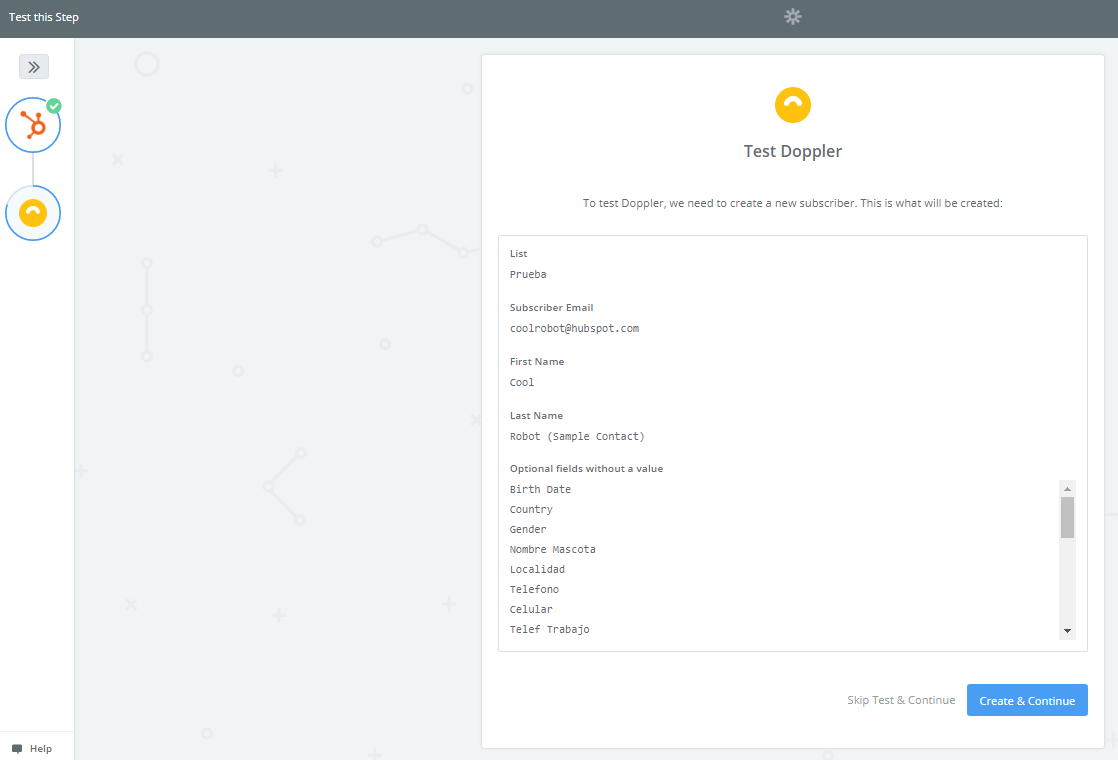
13. A “Test Subscriber” will be created in your Doppler account in order to check the integration. Then click “Create & Continue”.
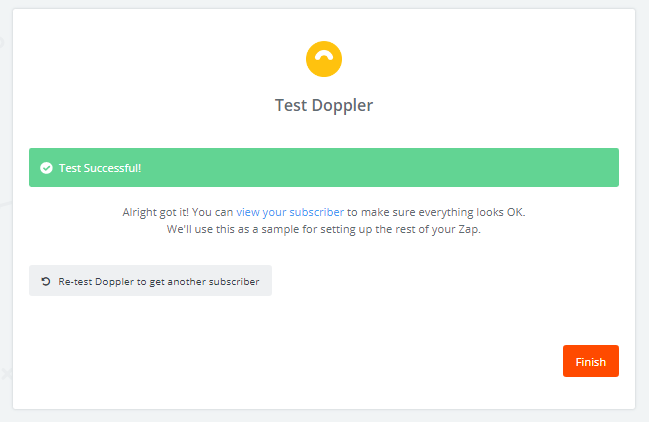
14. After that you’ll receive a confirmation that your Zap is functional. Click the “Finish” button.
15. Then you simply need to name your Zap so that you can easily identify it in the future and activate it by sliding the button from left to right, that is from “OFF” to “ON“.
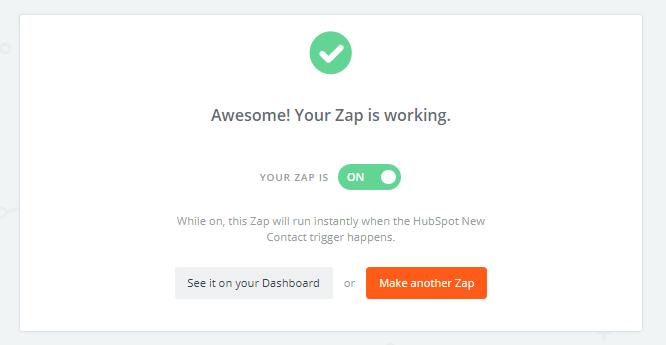
Ready! Finally you have integrated Doppler and HubSpot. Now you can reach the Inbox of any contact with the magic of Email Marketing!
Have a great Campaign!

 ES
ES EN
EN

Doppler informs you that the personal data that you provide to us when completing this form will be treated by Doppler LLC as responsible for this web.
Purpose: To allow you to make comments in our help center.
Legitimation: Consent of the applicant.
Recipients: Your data will be saved by Doppler and Digital Ocean as hosting company.
Additional information: In the Doppler Privacy Policy you’ll find additional information about the collection and use of your personal information by Doppler, including information on access, conservation, rectification, deletion, security, cross-border data transfers and other issues.