 ES
ES EN
ENHow to set up an RSS-to-Email Campaign
You have a Blog or a news site and want your Subscribers to automatically receive the updates? We have the solution for you!
With RSS-to-Email Campaigns you only need to tell us the URL of your RSS feed, create a Template and set up how often you want your database to receive your updates.
Do you want to learn the step by step so that your shipments can’t fail? Go on reading this article!
How do RSS Campaigns work
RSS Campaigns use tags to extract your Blog content. So, whenever you upload a new post, Doppler replace the content of the tags with the dynamic content of your site or Blog. This will be automatically loaded in an Email Campaign to be sent to your Subscribers, with the frequency you have previously set up.
Not very consistent with your publications? No problem! If, for any reason, you don’t update your Blog for a period of time, Doppler won’t make any shipments to your Lists until you publish a new post.
Now, read on to learn how to get the most out of this great feature.
How to set up an RSS Campaign in Doppler
The first thing to do is enter into your Doppler account and click the Automation section. Don’t have an account yet? Sign up for free here!

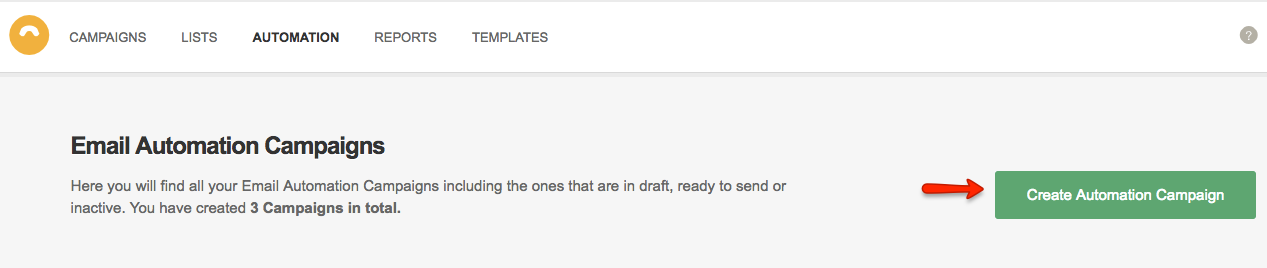
Now, click “Create Automation Campaign”.
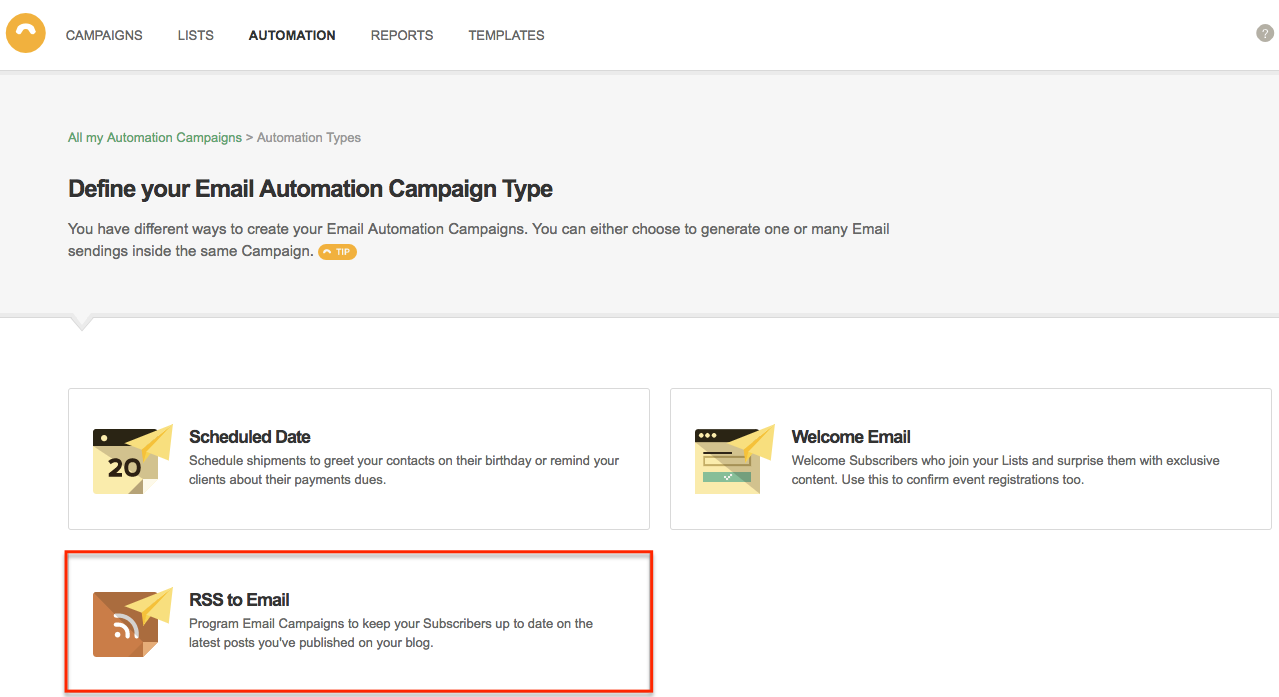
After that, you must choose the type of Automation Campaign you want to create. In this case, you need to click RSS to Email.
Then you will have to write a name for your RSS to Email Campaign.

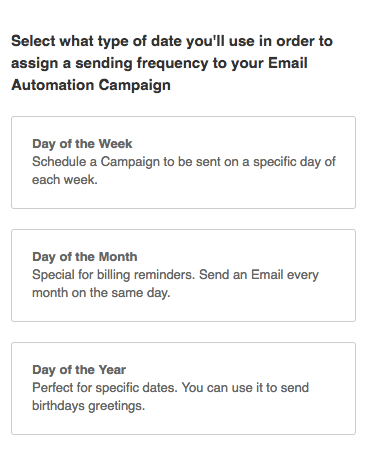
It’s time to assign the name of the Campaign and choose the sending frequency. You can select a Day of the Week, a Day of the Month or a Day of the Year. You can also set the time of shipping, based on the times when you know you can reach better results.
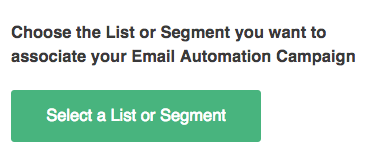
Then you must choose the Subscribers Lists to whom you want to send your Campaign, just as you do with any other shipment. Just click on “Select a List or Segment”.
You can select the amount of Lists you want or even select the option “Send to all my contacts”, this will include the ones that are not part of any of your Lists.
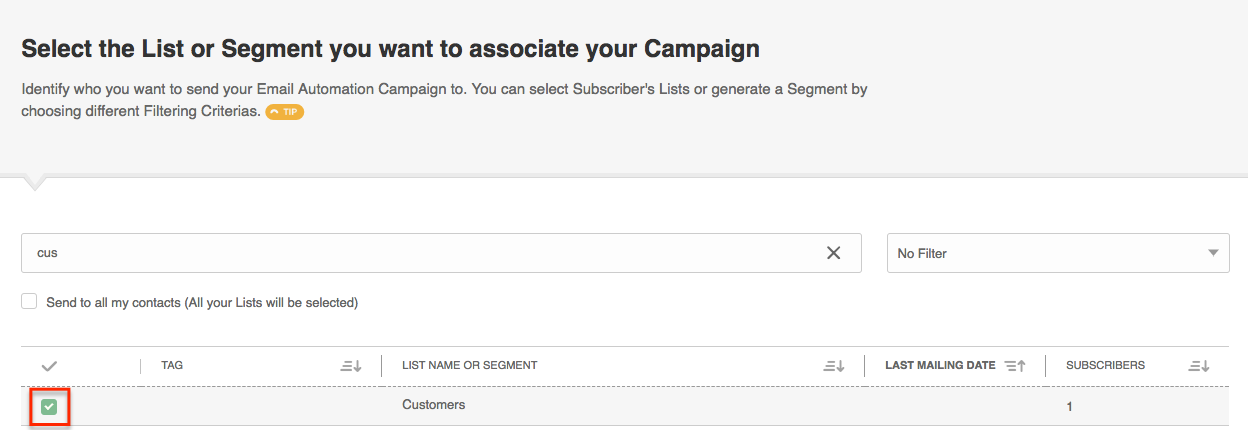
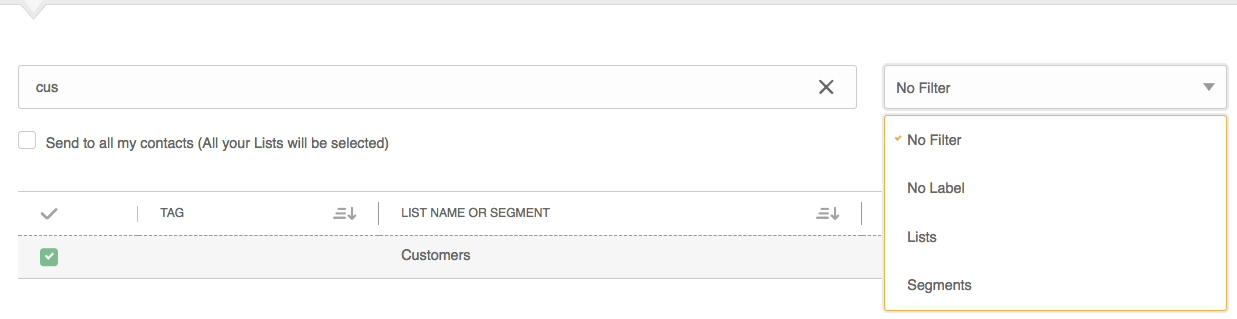
You can also choose a “Filter” if you want, for example, by selecting a Segment you have created or a List with a specific Label. Once you finish, click “Confirm selection”.
Then you will have to start defining the steps of your Automation Flow. To start press the + icon that appears on the canvas.
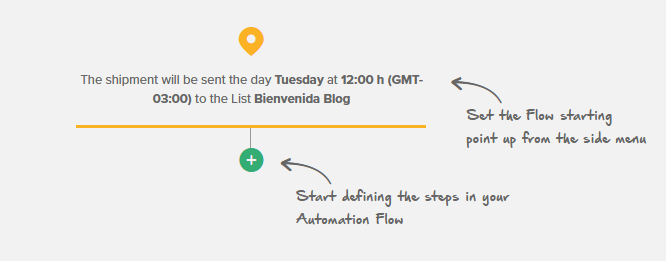
You will see two options: “Email”, “Condition”, “Action”, “Wait” and “Connect”.
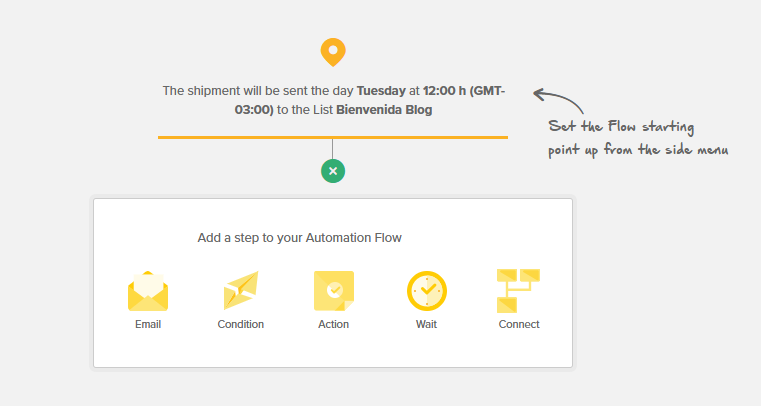
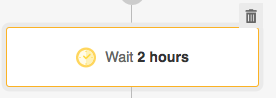
Choose “Wait” if you want certain time to make the second shipment. For example, you can set two days later to send another Email by typing the number 2 in the “Wait time” field and choosing the “Days” option. The data will automatically appear on the canvas on the right.
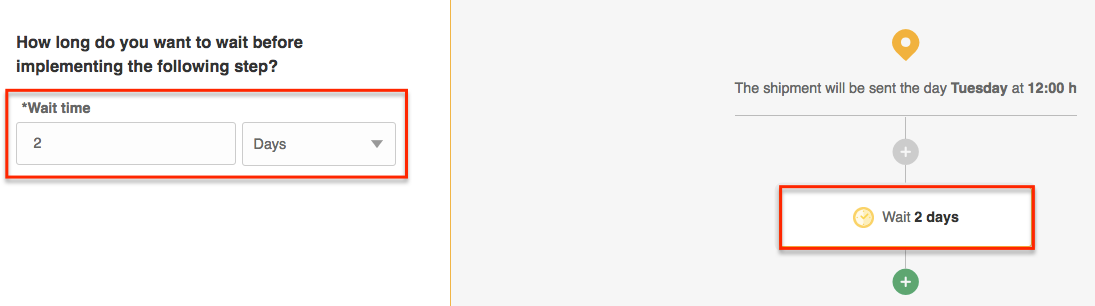
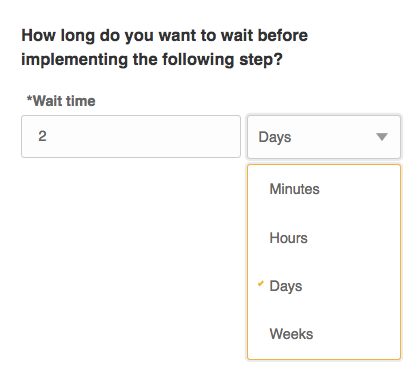
You can also set a “Wait time” of minutes, hours and even weeks.
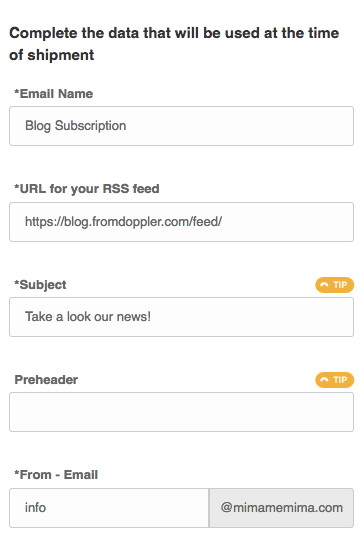
When you choose the “Email” option, you must configure the Basic Information of your shipment just as you do with the rest of your Doppler Email Campaigns. The first thing required is the URL for your RSS feed. You don’t know how to find it? No problem! Enter the URL for your Blog or site and we will do our best to find it.
If for some reason this doesn’t work, this technical information will be of great help:
There are two main source formats or web feed: RSS and Atom. Both formats are coded in XML language.
Typically, the feed address of a Blogger site, falls within any of the following formats:
– http://yoursite.blogspot.com/feeds/posts/default (Default),
– http://yoursite.blogspot.com/rss.xml (RSS).
– http://yoursite.blogspot.com/atom.xml (Atom).
– http://yoursite.blogspot.com/feeds/comments/default (Default for comments).
– http://yoursite.blogspot.com/feeds/posts/summary (Summary with 255 text characters)
If you use a WordPress site, the address of the feeds is usually by default one of the following:
– http://yoursite.wordpress.com/feed/
– http://www.yoursite.com/feed/
Additionally, to replicate the content of your blog in the Automation template, you must add the fields [[[RSSFEED:ITEMS]]] and [[[RSSFEED:ENDITEMS]]] at the beginning and end of the text. It is really essential that both opening and closing fields are added so that it works and the content of your Blog can be displayed correctly.
And ultimately, you always have our Support Team to assist you in everything you need! So do not hesitate, if you still have doubts, call them and they will be glad to help you in this small task, so that you can continue to the next step!
The rest of the Basic Information you need to complete is the same as for any other Campaign, as well as the Social Media setup.
Note: Did you know that you can add a Custom Field in the Subject of your Campaign? Thanks to this you can include in the Subject of each submission the title of the first article that appears in the Email. Just add the following text in the part where you want it to be displayed:
[[[RSSITEM:TITLE]]]
An example of Subject could be: Have you read the article [[RSSITEM:TITLE]]]?
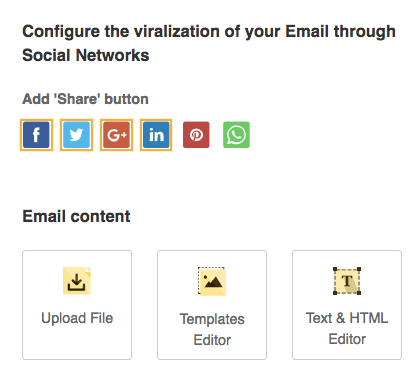
It’s time to configure the viralization of your Campaign, if you want it to be shared in Social Networks, and define the Email Content. You can choose to Import an HTML file, edit one of our Templates or create a Plain-Text Campaign.
The Template Editor option is ideal for those who do not have HTML knowledge and want to create Email Campaigns in minutes. If you have your own Templates you can choose one from the “My Templates“ section, otherwise you can select one of the available in the different categories.
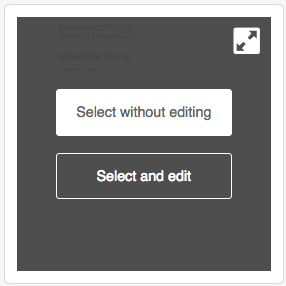
Clicking on one will display two options: “Select without editing” if you want to leave it as it is or “Select and edit” in case you want to modify it from our Editor.
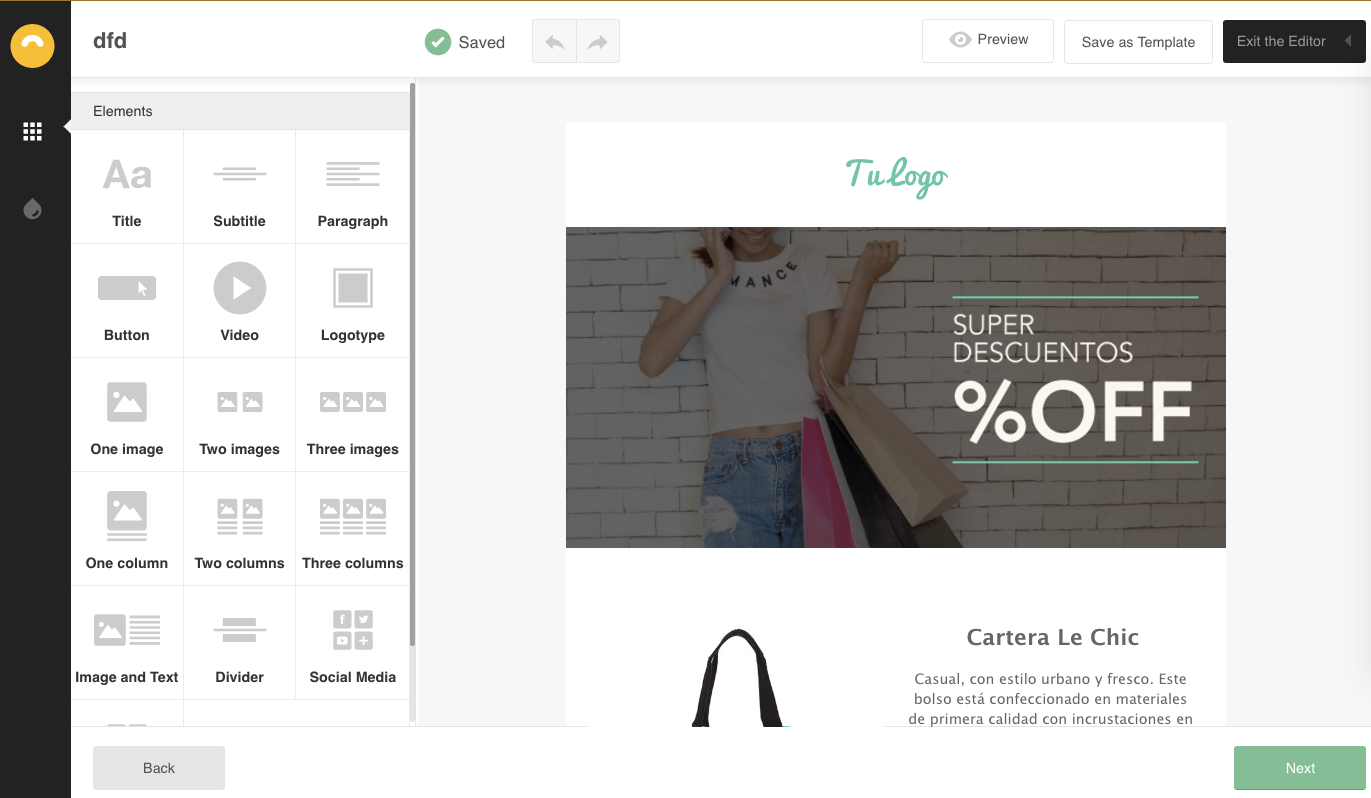
If you choose the option to edit a Template, you will be directed to our Editor. Remember that you can change everything you want: images, text, colors and add links with just drag and drop elements. Once you have your Email ready, click “Next”.
At this point we would like to make a stop. In order to identify the information you want us to extract from your Blog, we need you to include some merge tags on your HTML.
Right below we explain all the tags you can use:
[[[RssFeed: TITLE]]]
Displays the title of your Blog or your RSS feed. You can use it either on the Subject as well as on the Preheader and on the Email content.
[[[RssFeed: DATE]]]
Displays the date of the last RSS feed updating. You can use it either on the Subject as well as on the Preheader and on the Email content.
[[[RssFeed: URL]]]
Displays the URL for the RSS feed. It can be used only on the Email content.
[[[RssFeed: DESCRIPTION]]]
Displays a description of the RSS feed, if you include one in your Blog. You can use it on the Email content.
[[[RssFeed: ITEMS]]] [[[RssFeed: ENDITEMS]]]
Delimits the beginning and end of the place you want to use for your articles. The elements that you include in between those tags will get replicated for each post from your RSS feed. You can only use them on the Email content.
[[[RSSITEM: TITLE]]]
Displays the title of a particular post. You can only use them within the content of the Email.
[[[RSSITEM: URL]]]
Displays the URL of the article. You can only use them within the content of the Email.
[[[RSSITEM: DATE]]
Displays the date of publication of the post on the Email content.
You can select one of the following formats to show the date of publication of your article.
[[[RSSITEM:DATE:D/M/Y H:M:S]]]
[[[RSSITEM:DATE:M/D/Y H:M:S]]]
[[[RSSITEM:DATE:D/M/Y]]]
[[[RSSITEM:DATE:M/D/Y]]]
[[[RSSITEM:FULLCONTENT]]]
Displays a complete description of the post within the content of the Email.
[[[RSSITEM: CONTENT]]]
Displays a short summary of the post on the content of the piece.
[[[RSSITEM: IMAGE]]]
Displays images of your posts. These must comply with the following format: <media:content url=”http://image.*” type=”image/*” />
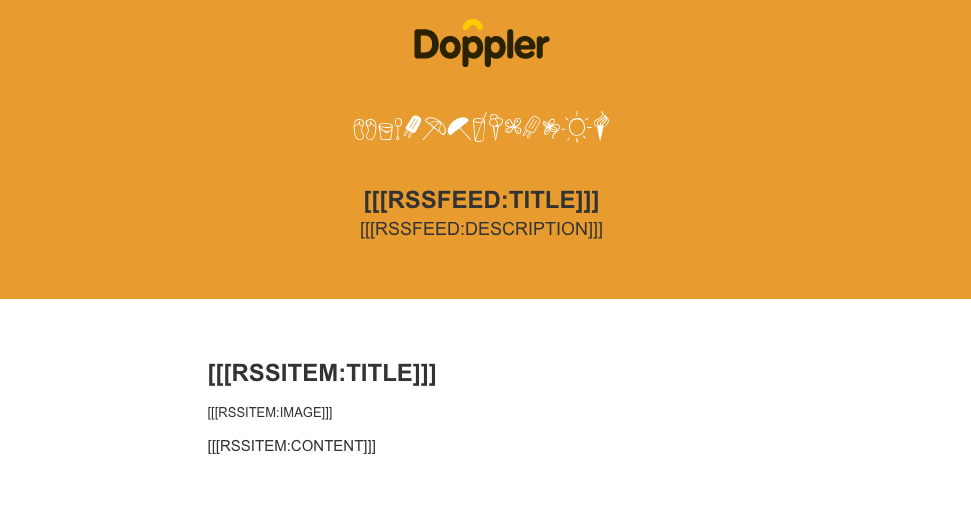
Take a look at this example of an RSS Campaign
When you create a piece with these tags, it will look like this:
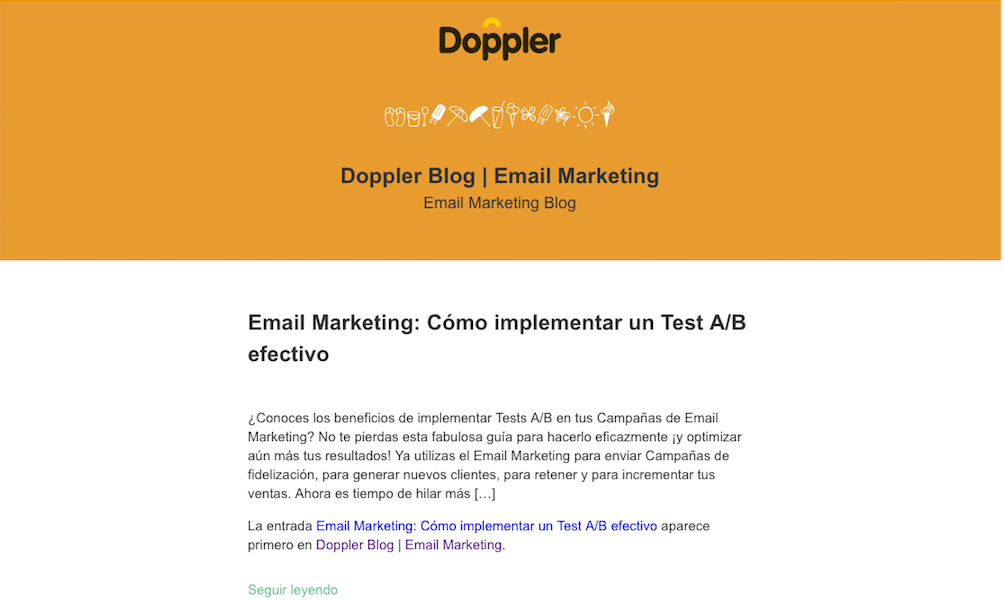
Your Subscribers and even you, if you want to previsualize it before programming the shipment, will see it this way:
Now, you have your HTML with all the tags you need, so you just have to load it by clicking Browse for your File, look for it on your PC and click Next.
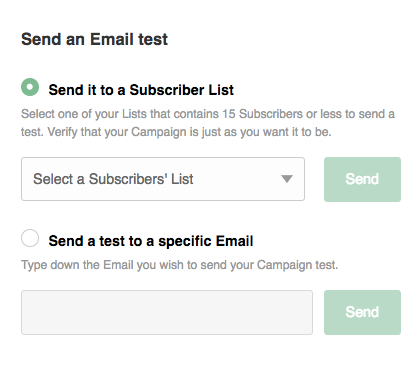
Once you have created the Content of the Email you will be able to make a Campaign test, just as you do with the other Campaigns that you create in Doppler, in order to verify that there is no error.
Good job! You already have your RSS to Email Automation Flow configured. On the canvas you will see all the detailed steps and also you can continue adding. If you want to modify some, just click on it and on the left the panel will be displayed from where you can make the changes you want.
If you want to delete some of the steps, just by placing the cursor on it you will see the “Delete” icon appear.
All the steps that you create and configure will be saved automatically, although you also have the option “Save” in the upper margin of the screen.
To go back or go forward, you always have the buttons “Undo” and “Redo”.
Finally, you will see in the upper part a rectangle that will indicate the steps that you are completing and if there are some that has been incomplete.

Now you complete the same steps as you did with your previous sending and, once you’ve finished, with a click on “Start Automation”, your Automation Campaign will start running!
Have a great Campaign!


Al usar la Campaña RSS, solo se pueden enviar 1 contenido de blog por mail? O se puede programar para que en cada mail puedan acceder a 3 o 4 artículos?
Gracias!
Hola, deberías poder incluir la cantidad que quisieras, ¿aún tienes problemas con esto? Escríbenos a [email protected] y te ayudaremos. Saludos, Claudio de Doppler