 ES
ES EN
ENJumpseller: step-by-step guide to integration
Through this e-commerce platform you will be able to sell your products or services and with the advantage offered by its link with various channels such as Facebook, Instagram and Google Shopping, it allows you to publish and disseminate your business more easily. If you want to know much more about how to integrate your Doppler account with Jumpseller, you can read it in the following article.
In this case, we will see the step by step to integrate both platforms through OAuth2. First, it’s important to clarify that OAuth2 provides clients with secure delegated access to server resources on behalf of a resource owner. It is the industry standard protocol for authorization.
Your customer ID is used to request a code and then exchange this code for an access token and a refresh token. By default, the access token expires in 1 hour. The main idea is protection, since the attacker has a limited window to abuse it.
How to integrate
Now let’s see how it can be done step by step from your Doppler account:
1- First, enter your Doppler account and from the main menu, select the “Integrations” option.
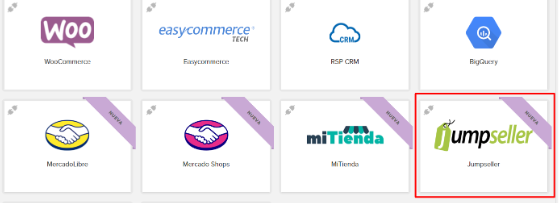
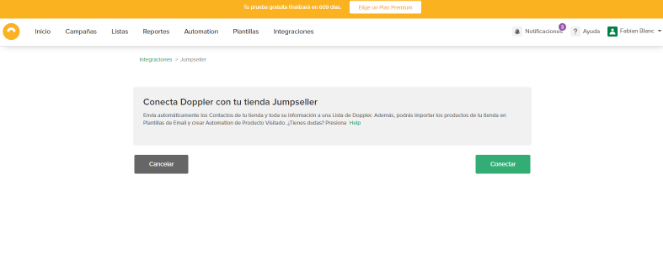
2- Now click on the Jumpseller option, then enter your data to advance and click the “Connect” button.
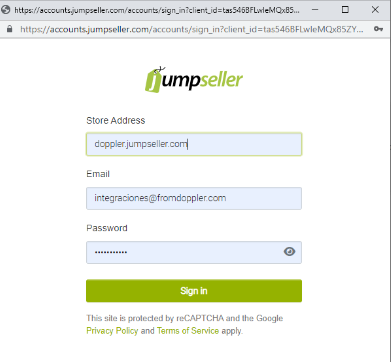
3- You will be redirected to a pop-up to enter your Jumpseller account data.
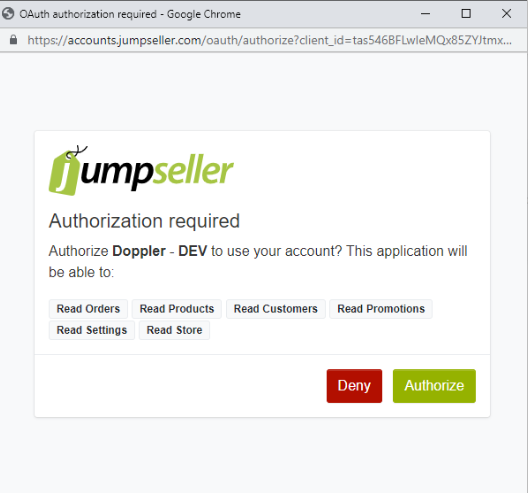
4- Next, you must authorize the connection of both applications.
If the connection was successful, you will see the information on the screen. By clicking on the “Disconnect” button you can unlink both accounts. The synchronized information will be kept (in case you have done steps 5 and 6), but no new clients will enter Doppler.

5- Now you must select a Doppler List to which to send the information of your clients. Doppler will automatically create a List called “Jumpseller Customers”. After selecting it, continue with “Next”.
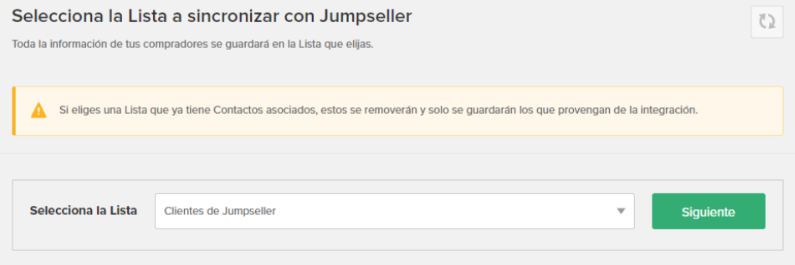
We call customers those visitors to your Online Store who have an account with it, regardless of whether they purchased or not.
6- To finish sending information from Jumpseller to Doppler, you must perform the mapping of Fields.
On the left you will see the information fields about your clients that you have in Jumpseller; on the right you can display the list of Doppler Fields and select one, or leave the default Fields. To finish, click on “Sync”.
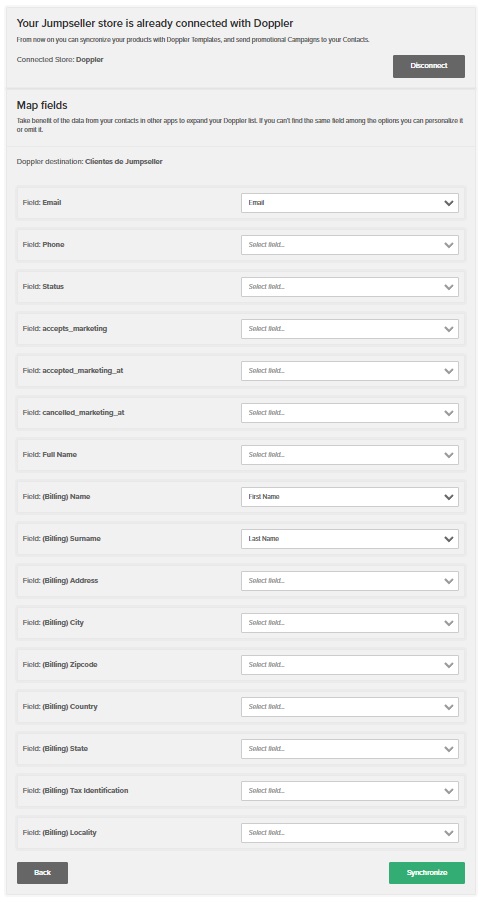
Ready! You already have the information of your clients stored in Doppler. If you wanted you could edit the mapped Fields, or directly delete the mapping.

Now we will show you how to import the products of your Store in Doppler Templates, to later create a Promotion Campaign.
How to import the products of your Store in Doppler Templates
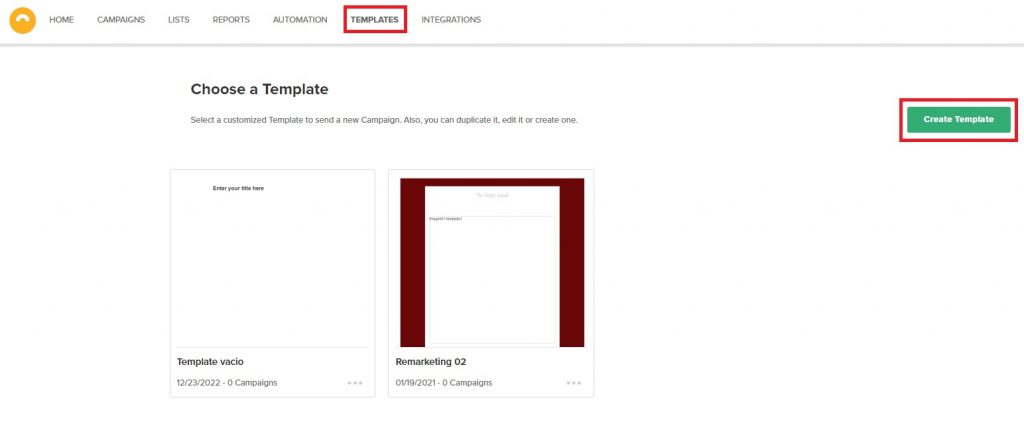
1 – Go to the “Templates” section of your Doppler account and choose “Create Template”.
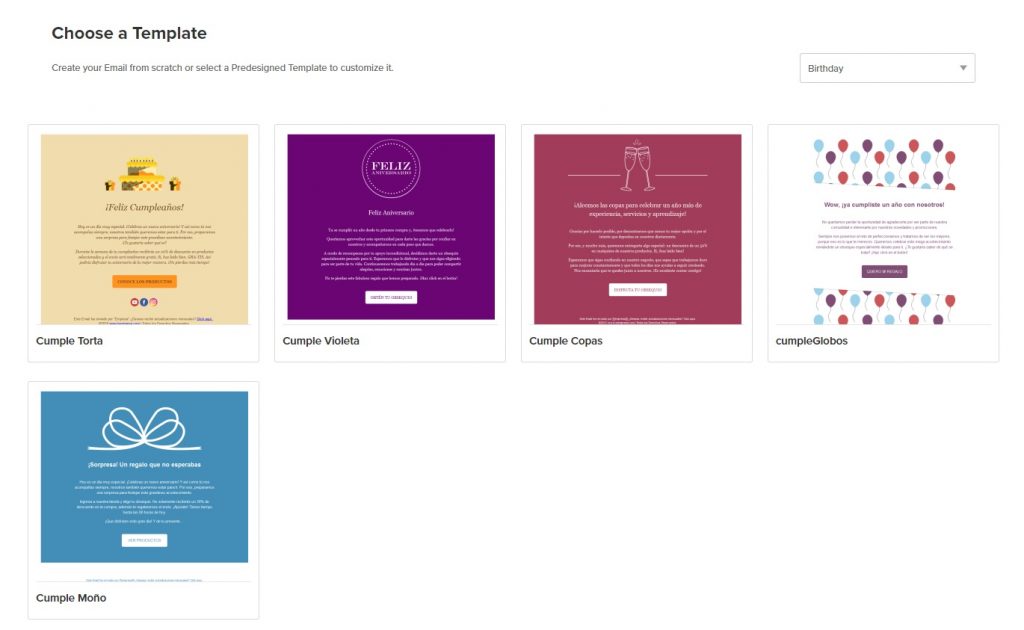
2 – Choose a pre-designed Template to edit it, or a blank one to design it from scratch to your liking. Remember that they are grouped by categories and you can review them and choose the one you want.
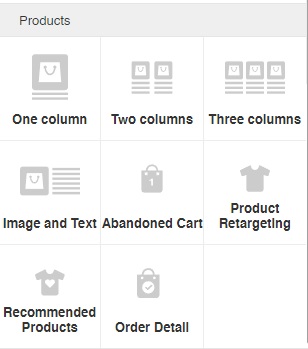
3 – Once you select the Template to edit, you must drag and drop a Product Item, and then insert them into your Template and display them in your Campaign.
You can choose to display up to three products per column, and in the case of displaying one, if you want the text to be to the right of the image or below (these are the first four items shown in the Products category).
4 – After dragging and dropping the chosen item on the canvas, in the left column select “Edit”. The list of the items you have loaded in your Store will be displayed. Choose the ones you want to include in your Campaign and then click on the “Select” button on the bottom right margin.
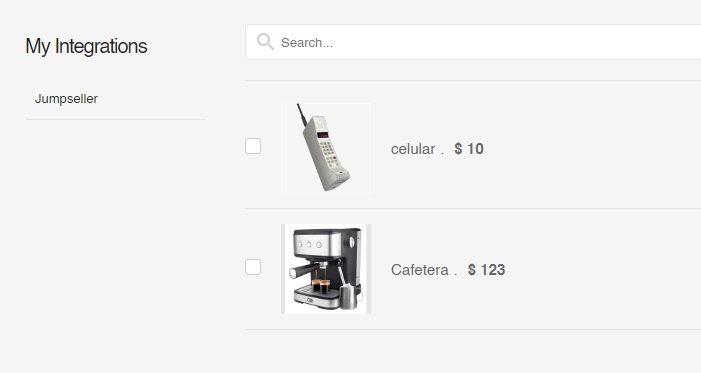
Note: in the product search, those products that are no longer marketed in the store will appear without the image and with the tag [DISABLED] in the description.

Good job! Your product information will be displayed and the link to the product in the Store will be automatically added to the Buy button.
Once you have edited the Template, you can create a Campaign and send it to your customers.
How to include classic and pop-up forms
Forms are a very useful tool to obtain customer data, generate contacts and add them to email campaigns. The integration of Doppler and Jumpseller allows two types of forms: the classic form that is inserted in a fixed page of the store, and the pop-up form that appears according to the preferences that are configured.
This integration is achieved by copying the form code generated in Doppler and pasting it in a specific place in the Jumpseller administrator. Let’s see.
1 – To get the code from Doppler, complete the steps in this help. The article explains how to get the code from new or existing forms.
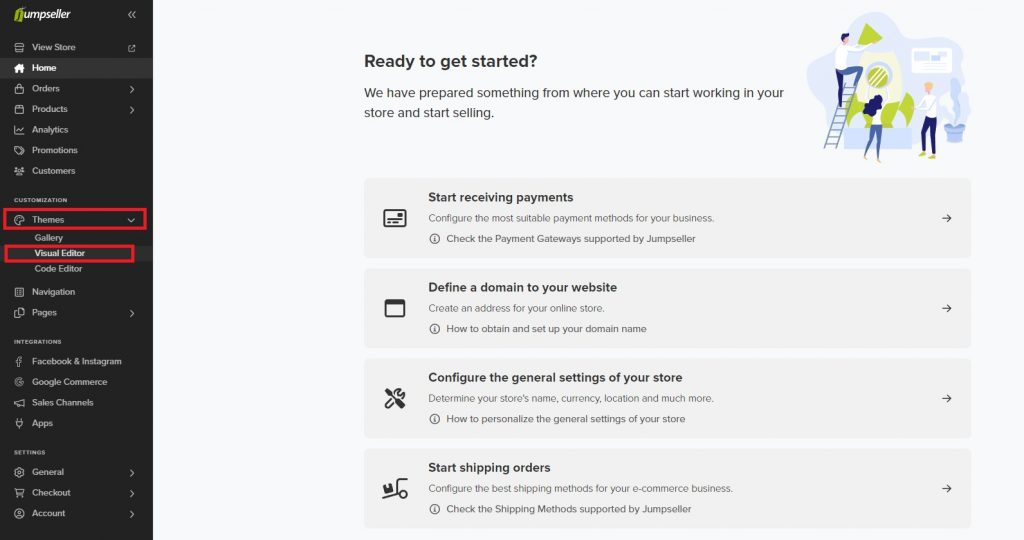
2 – Login to your Jumpseller admin and follow this path: “Themes” > “Visual Editor”.
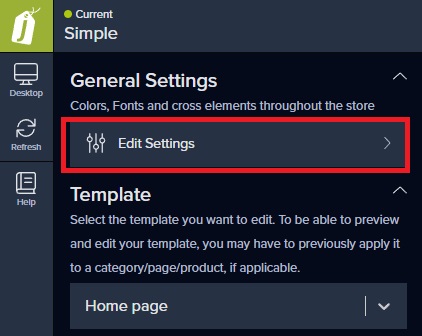
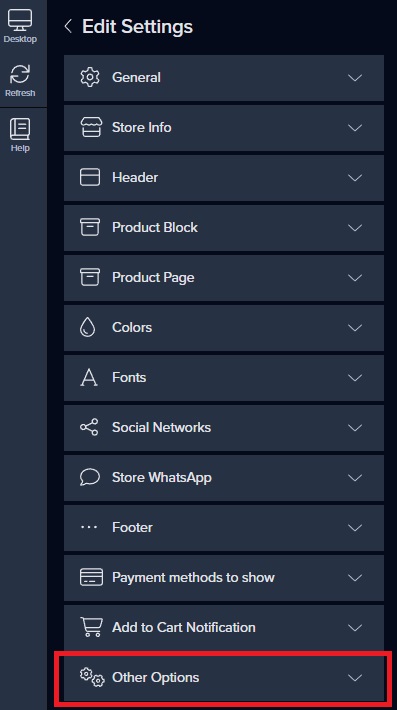
3 – In the “General Settings” menu, you must choose “Edit settings”.
4 – The “Edit Options” submenu will open. Scroll down to the bottom and drop down “Other options”.
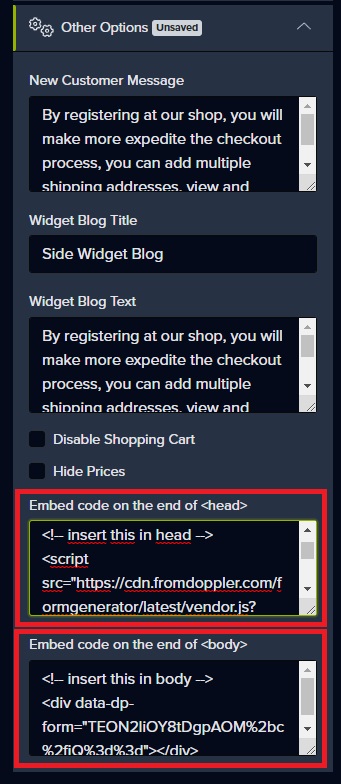
5 – This is the key place where you include the code for your form. There are two spaces reserved for the code, and they are the ones under the prompts “Embed code on the end of <head>” and “Embed code on the end of <body>”. The one that says “<head>” is the space for the code of a pop-up form, while the one that says “<body>” is for a classic form. Place your code in the corresponding one.
6 – Once the code is inserted, you will see your form in the preview. You will find it in the first scroll of the page in the case of the pop-up or at the end as in this case of the classic form. Confirm the change with the “Save” button.
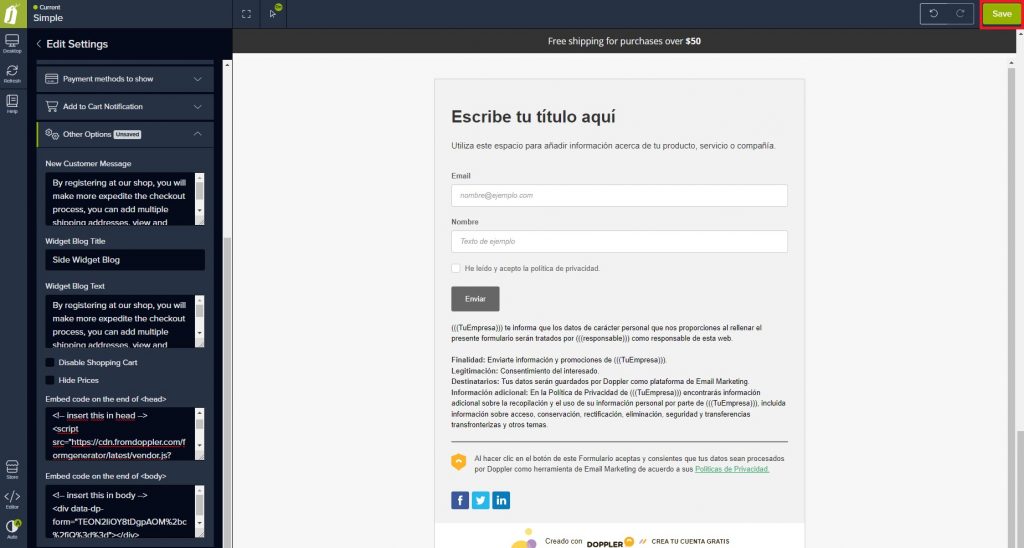
You are done! You will see the changes in your store.
How to automate “Abandoned Cart” and “Product Visited” in Jumpseller
There are two must-have automations to attract to your store those visitors who abandoned their product cart, or who viewed one or several specific items, but did not initiate the purchase. In the following articles, you will find:
- How to activate an Abandoned Cart Automation step by step.
- How to activate a Product Retargeting Automation step by step.
Now that you know how to integrate Doppler with Jumpseller, add automations and import your products in Templates to send Email Marketing Campaigns, the only thing left to do is to get started.
Good luck with your Campaigns! 🙂
Any questions? You can contact our Customer Service team by WhatsApp. We are here to help you.


Doppler informs you that the personal data that you provide to us when completing this form will be treated by Doppler LLC as responsible for this web.
Purpose: To allow you to make comments in our help center.
Legitimation: Consent of the applicant.
Recipients: Your data will be saved by Doppler and Digital Ocean as hosting company.
Additional information: In the Doppler Privacy Policy you’ll find additional information about the collection and use of your personal information by Doppler, including information on access, conservation, rectification, deletion, security, cross-border data transfers and other issues.