 ES
ES EN
ENHow to create and edit “New Editor” templates
Doppler has very complete tools that will guide you so that you know how to create and edit templates for your emails, which you can then use in your email marketing and automation campaigns. Today the new is that a new one has been added to the traditional editor, which is present in the templates identified as “New Editor” in the Templates section and when accessing “Create template”.
At the moment, the editor will only be enabled for a few Doppler users at a time. If you do not have it and you are interested in trying it, request it to [email protected] and we will give you access.
In this article, you’ll see how to use all the features of the new template editor to produce attractive and professional emails without any coding or design knowledge required.
In the meantime, you should read this article to learn all about creating and editing templates with the traditional editor, which will continue to work for those not marked as “New Editor”.

“New Editor”: how to create and edit templates
Doppler’s new template editor offers a wide variety of email templates with dynamic content that adjust to different platforms (responsive) and can be easily customized with just drag and drop elements.
Now custom blocks from templates can be saved along with their images for reuse in future templates, saving time. In addition, a wide variety of pre-built templates are incorporated that serve as a starting point for creating new ones and modifying them.
The new editor, which has autosave, also enables undo and redo functions and writing custom HTML code.
These and other features will be explored in this tutorial where you will learn how to create and edit templates with the new editor.
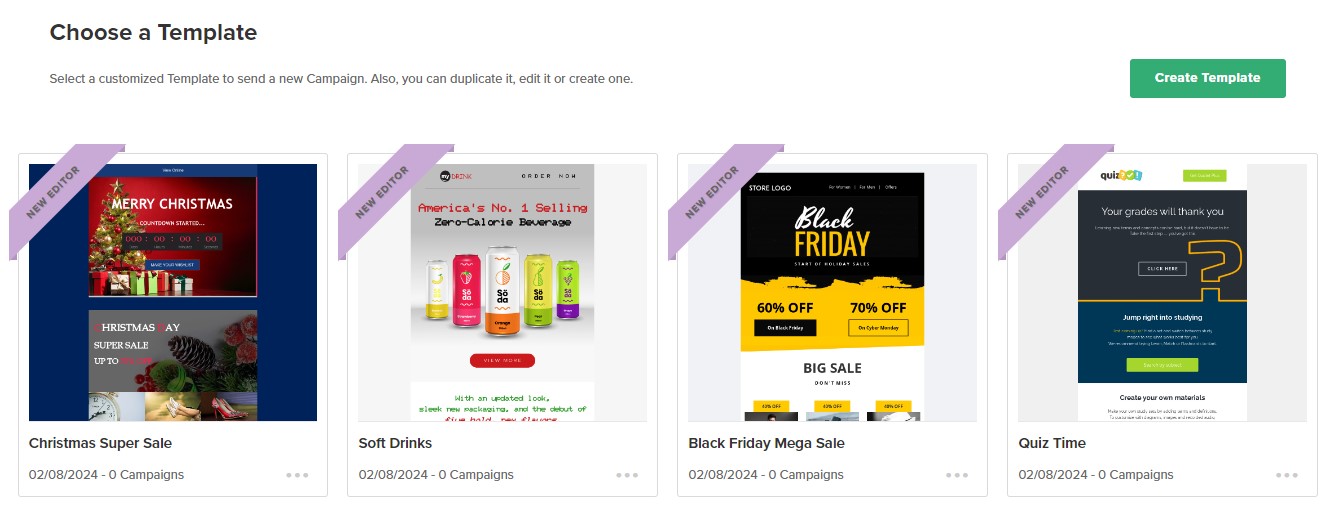
Create a template
When you access Templates (as shown in the first image), you can either edit an existing template or proceed to “Create a template”. As you move forward to create a template, you’ll find various options organized into categories. Among the most prominent ones are: “Events”, “Communications”, “E-commerce”, “Welcome” and “Abandoned Cart”.
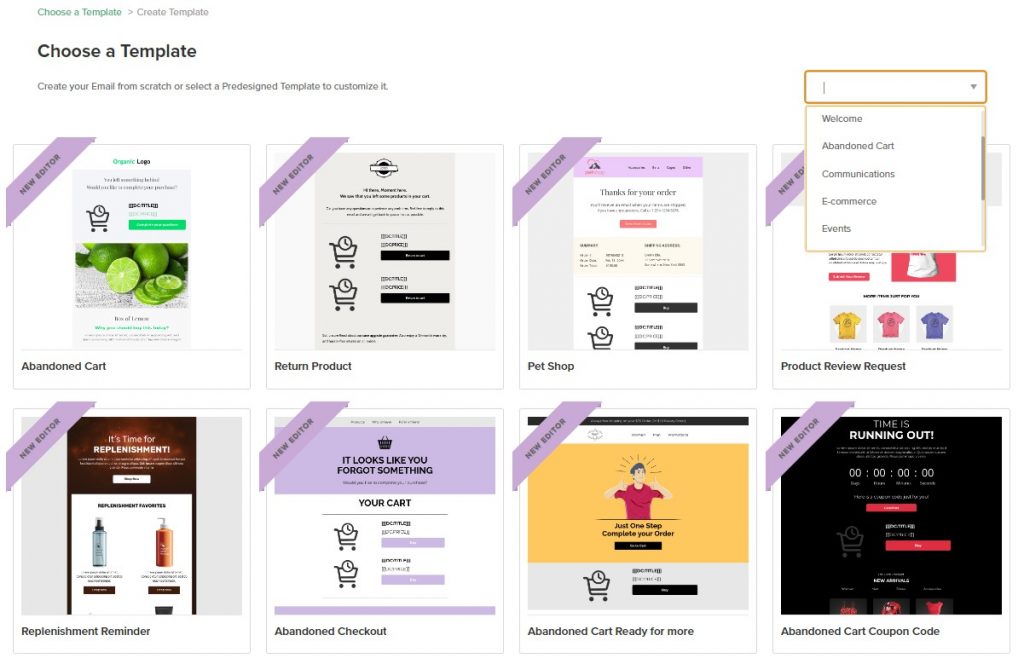
There we choose anyone identified as “New Editor” to begin analyzing the tools of the new editor. The dashboard looks like this:
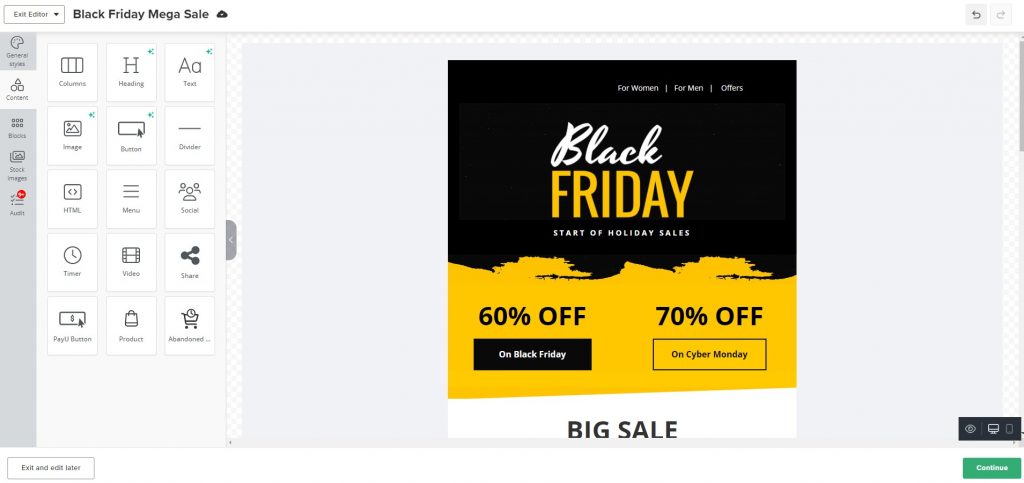
Now let’s go through the main editor tools one by one.
Drag and drop
The menu tools are taken by clicking, dragging and dropping on the space in which you want to insert an item. Available slots are identified in light blue and read “Drag it here.” Adding elements you customize your template and give space to insert content.
Elements display various options when placed. We can move them with the 4-arrow cross on the right, delete them with the trash can icon, or duplicate them from the icon plus to the right. With the “+” a new element of the same type is added.
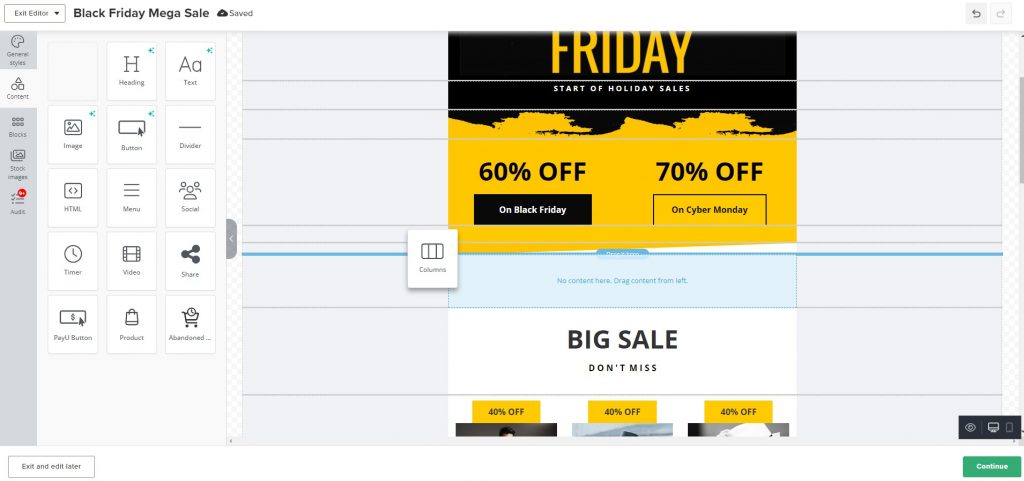
Elements display various options when placed. We can move them with the 4-arrow cross on the right, delete them with the trash can icon, or duplicate them from the icon plus to the right. With the “+” a new element of the same type is added.
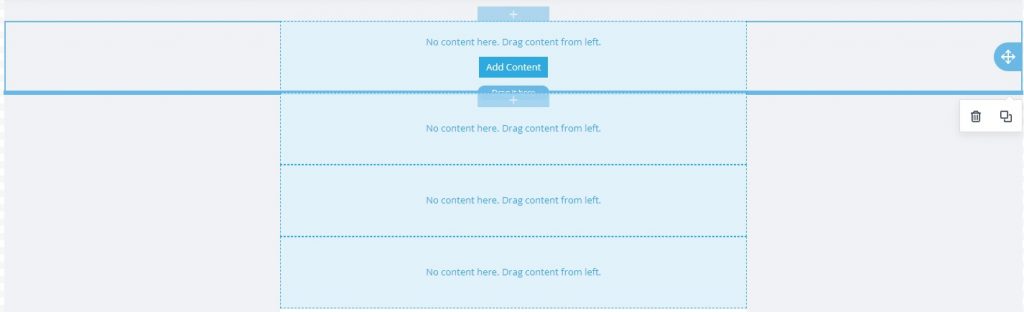
Columns and rows
Let’s start with the “Contents” tab: the first item is “Columns”. When integrating it into your template you will see a menu that offers various column layouts. Position yourself in the row you want to modify and change its design. Locate in each column images, buttons, videos or the resources you need.
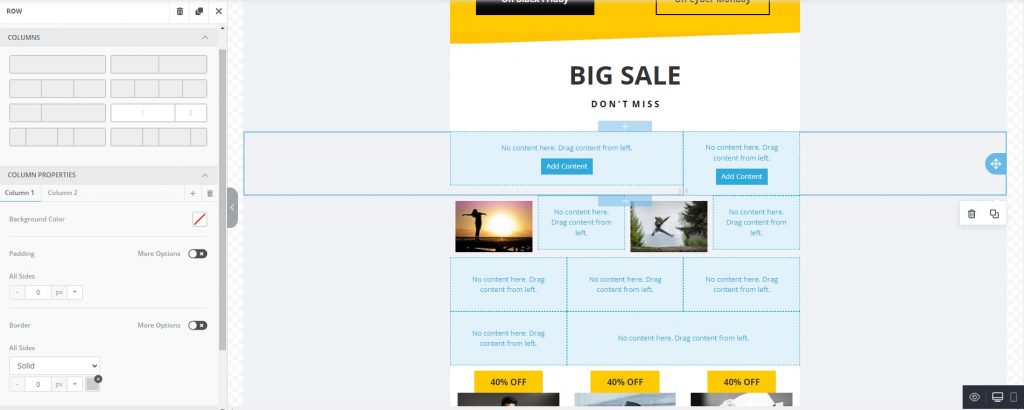
In the menu on the left, under the heading “Column Properties”, you have a tab for each column in the row. Choose for each column the background, padding and border colors, along with other characteristics.
The template is built by stacking rows, which have space for between 1 and 4 columns, plus the side spaces. Like the columns, the rows have a section in the menu. In the image below you can see that it shares some editing options with the columns and also adds the possibility of incorporating a background image (you can upload or load the URL), with some special configurations.
The “Text” element is very similar to “Header” in terms of its operations and options, only that it is reserved for longer and less prominent content.
Titles, texts and artificial intelligence
Also drag-and-drop, the “Header” tool embeds titles into your templates.
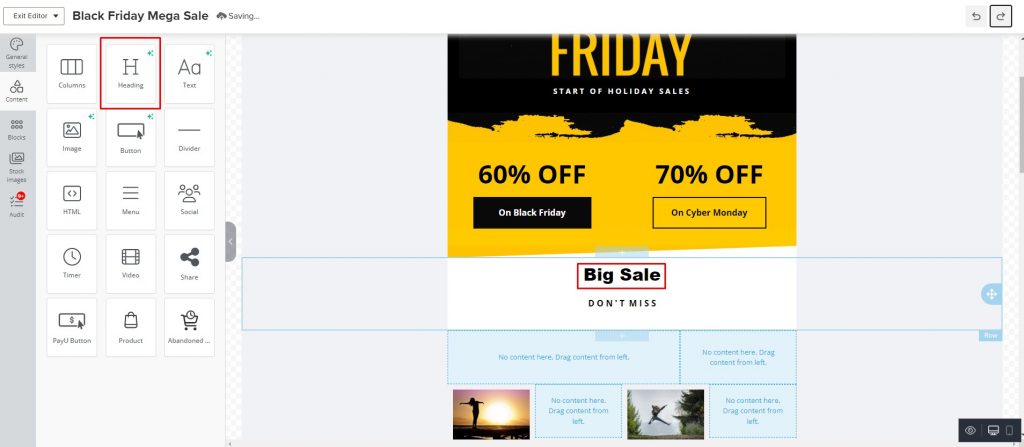
When working on the header, the menu shows multiple format options such as the one that allows you to choose the relevance of the title between H1,H2,H3 and H4. You also choose the type of font, thickness, size, color and alignment. All this personalizes an email to the maximum.
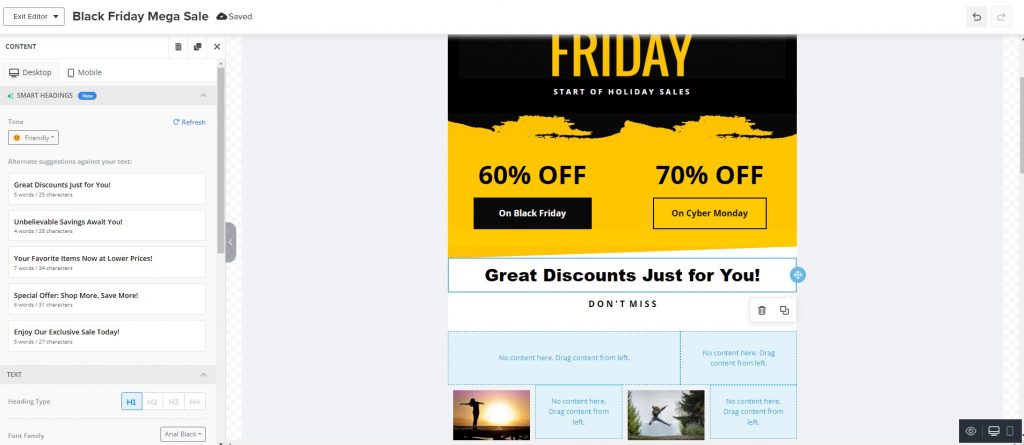
One of the coolest tools in this element is “Smart Titles”. It is an artificial intelligence applied to titles, which makes suggestions to achieve more attractive texts based on the original written and the tone chosen. Selecting the option applies it directly.
The “Text” element is very similar to “Header” in terms of its operations and options, only that it is reserved for longer and less prominent content.
Visuals, plus AI and effects
Adding a photo is super easy and the same method is applied as with the others: you drag and drop the “Image” element in the desired place, you touch the empty column and the options are displayed in the menu.
In the “Image” section of the menu there is the option to drag a photo, upload it or, in “More images”, access stock photos or the gallery where previously uploaded images are stored. Another way is to paste the link of the photo in “URL image”.
In the same menu there are useful options to define the image’s width, alignment, alternative text, links, padding, etc. Even here there is artificial intelligence too! Try “Magic image” to generate unique and personalized images designed with AI.
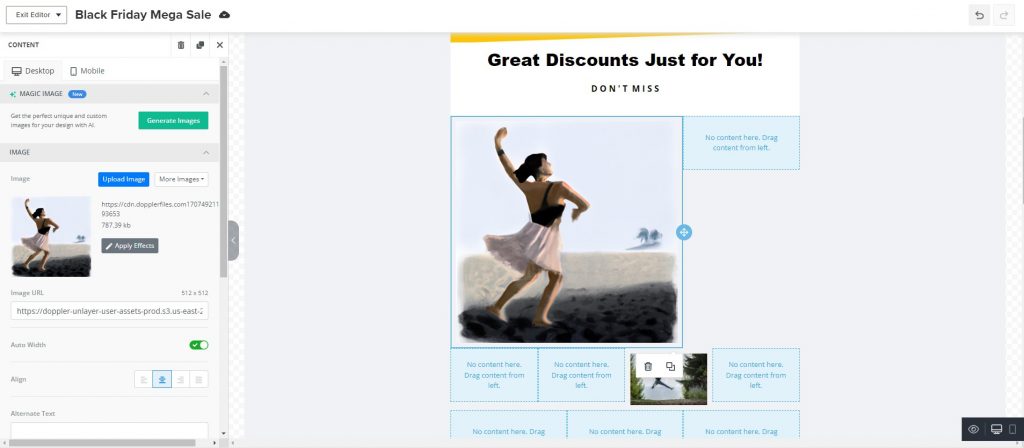
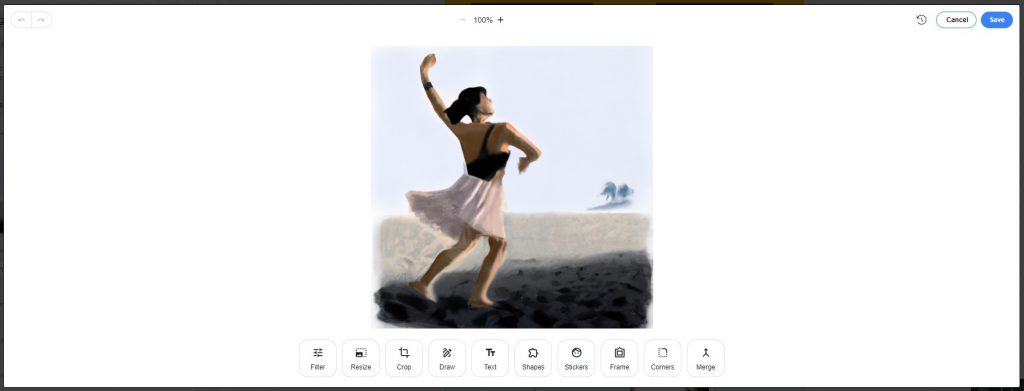
Another relevant function that is available for your photos is “Apply effects and more”. See in the screenshot below all the possibilities to edit the images directly from your Doppler template.
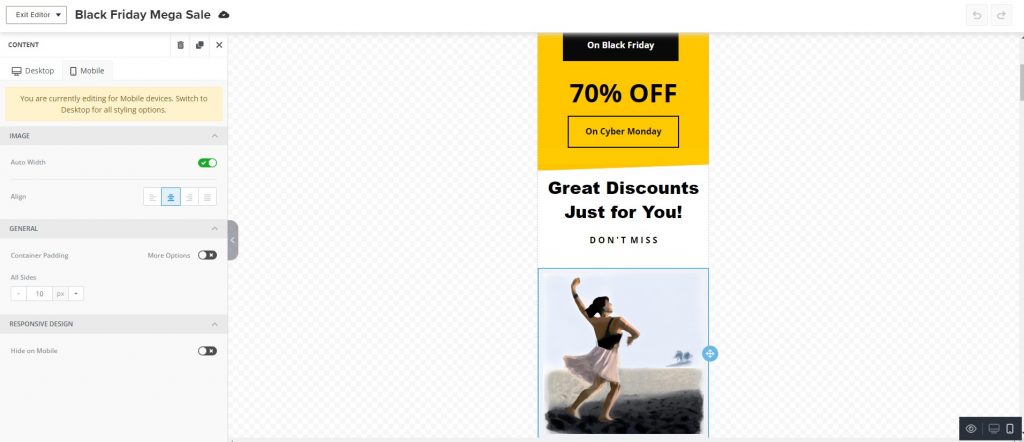
Desktop and mobile
When you explore the various menus for each item, you’ll notice that each one offers two tabs: “Desktop” and “Mobile.” This allows you to adapt your emails in the best possible way for both formats separately. Please note that some options will not be available on the mobile version.
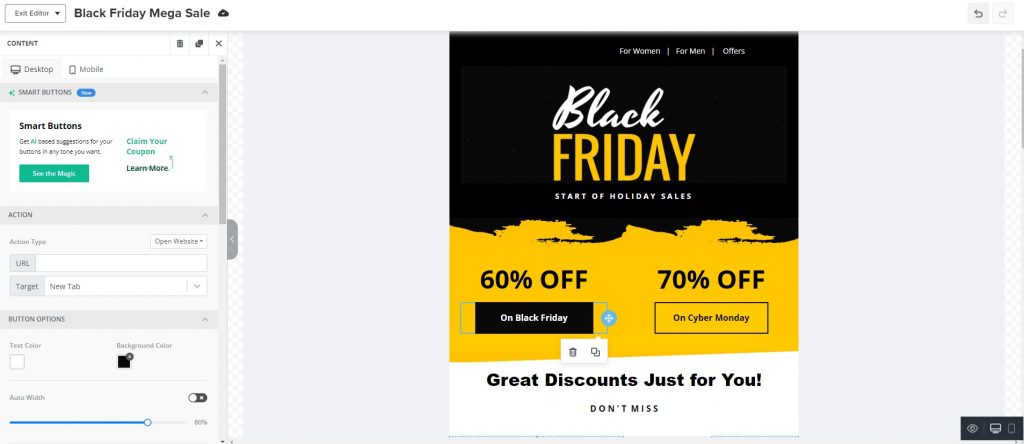
CTA (Call to Action) button
The button is a key element of your shipments, where the call to action that directs customers to a purchase or to your business takes shape. Add a button to your shipments and transform it to your liking. In the menu you have the classic and complete formatting tools.
In the buttons there is also the help of artificial intelligence to generate suggestions for CTAs that increase your conversions. Take advantage of it!
Divider, menu, HTML and video
- The divider is a simple element, but very useful. It is a line to separate your contents and organize them neatly. You can customize its format.
- The menu allows you to insert various short texts and link them with an action such as opening a website, sending an email or calling a phone.
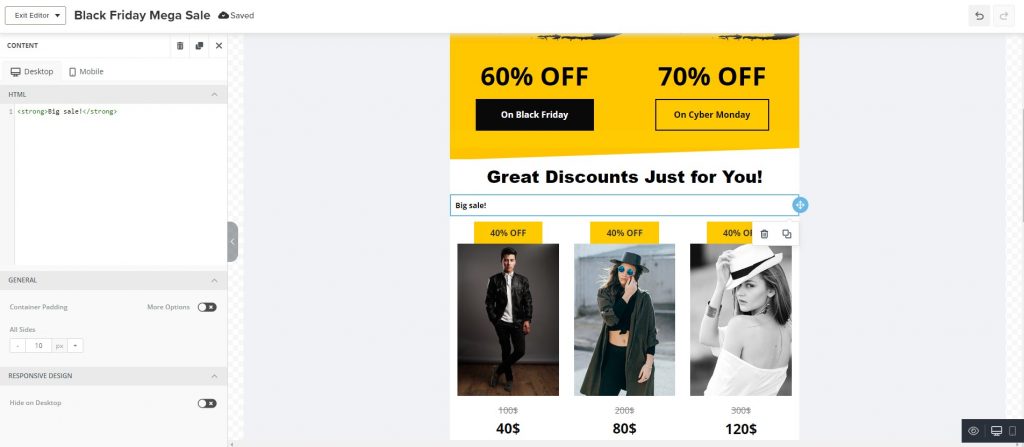
- If you know how to modify the HTML code and want to make your own design, drag and drop the “HTML” element into your template. Edit the HTML code at ease!
As with images, the “Video” element allows you to include these contents through a URL. It only accepts videos from YouTube or Vimeo.
Social networks and sharing
You can not miss the social network buttons and share in your shipments! Specifically, the social networks will help you direct the people who receive your shipments to your social networks. You can configure which networks you add, the format of the buttons and add the direct link to your accounts.
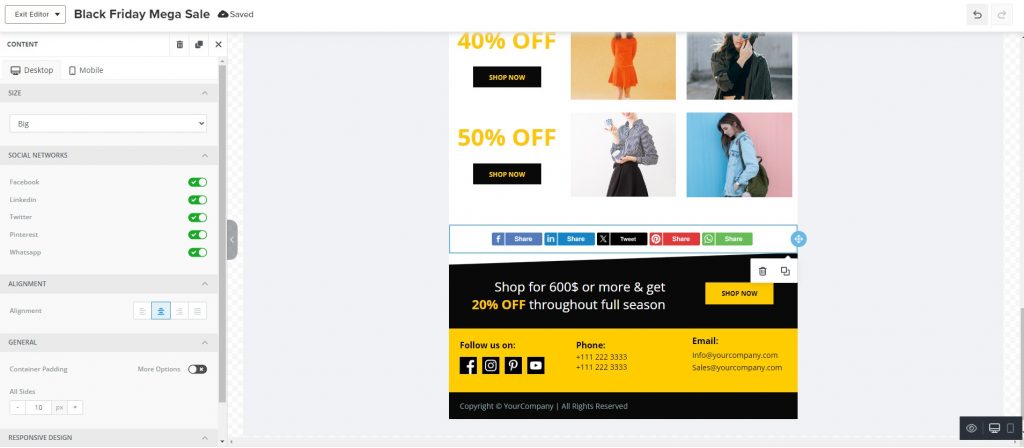
Meanwhile, the “Share” button will offer your users to send your email information to other people through different channels such as Facebook, Linkedin, Twitter, etc.
PayU payment
Take advantage of the incredible PayU payment tool that allows you to sell from the inbox. You need to have an account to use it and then just drag the button and set the URL for the payment. Find in this help all the information on how to include PayU payment buttons in your email marketing campaigns.
Format window and combination labels
The format window will be displayed in the different elements so that you have quicker access to the typography, color, alignment, etc. options that you are looking for for your texts.
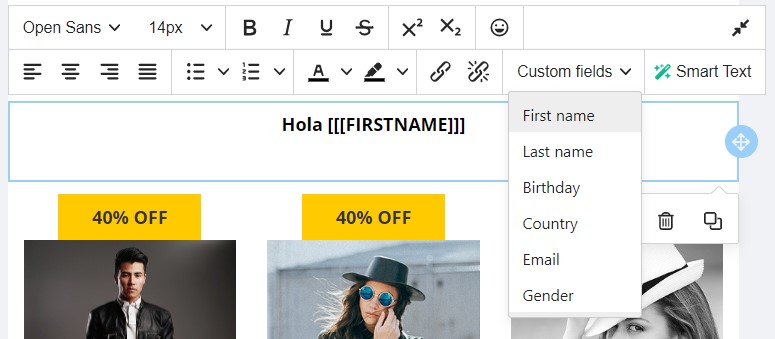
Merge tags are only triggered from that pop-up. They are keys for inserting fields with your subscribers’ information into an email. In the dropdown menu, you can see the fields that are already predefined, such as First Name, Last Name, Birthday, Email, Country, and Gender. Customize your emails to create more impact!
Find out more about custom fields in Doppler.
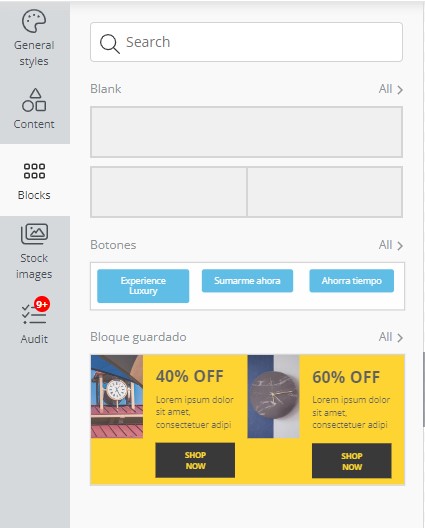
Saveable blocks
The feature of saving already modified blocks is very useful to save time if you use the same ones several times. It’s very easy: when you modify a row, look at the save icon on the right and click on it. Ready!
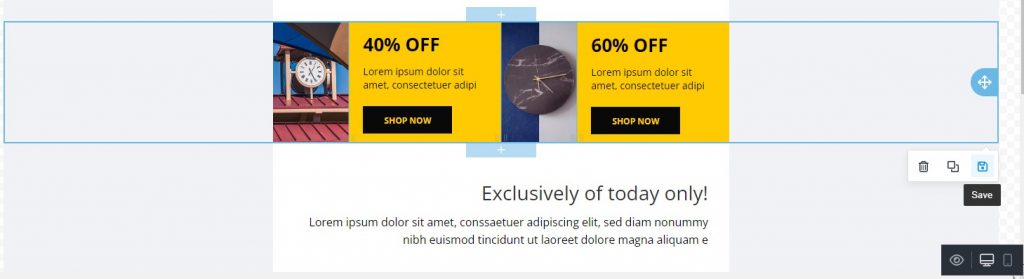
You will now be able to reuse that block layout. You can find it in the “Blocks” tab of the general menu.
Tip: to select the rows you must touch the space to the left or right, outside the content.
General styles
Access from the “General styles” tab of the main menu for the configuration options of the entire email set. You can modify at the same time the typography of all the texts, the alignment and its color, as well as the background color of the email, its width and the color of the links.

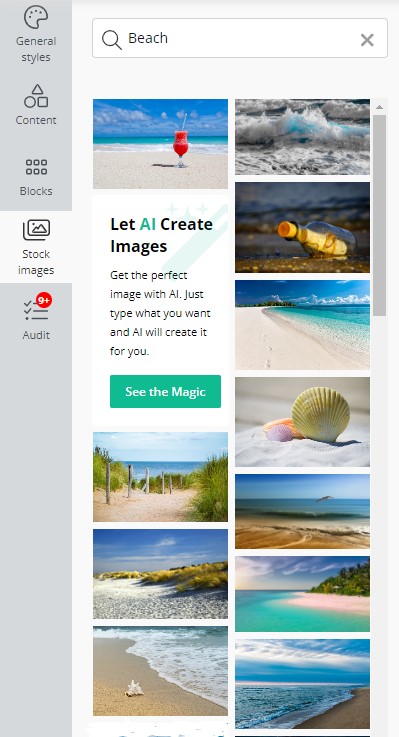
Stock images
The next tab is “Stock Images”, where you have free access to thousands of stock photos that you can use for your templates and with a few clicks, without leaving Doppler.
This feature is new in the editor. Practice, right?
Gallery
The “Gallery” tab is where the space is to upload our own photos, either by dragging a file or searching for it in the folders on the computer.
One of the advantages of this gallery is that it shows the latest images we uploaded, making them easily accessible for reuse.
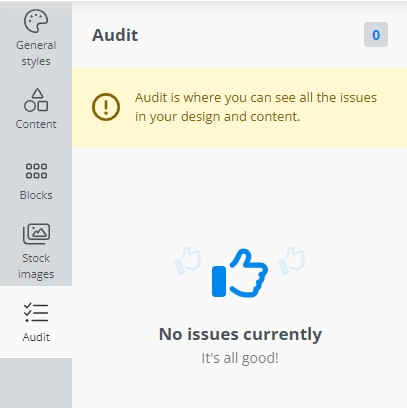
Audit
Finally, “Audit” is an automatic wizard that will alert you when there are errors or incomplete elements in your template. It will be fixed especially when you leave spaces to link pages, but forget to put the URL. Review and resolve these notices before sending your campaign.
Auto save
The editor has a permanent save feature that will record any changes you make to the template, so you don’t have to worry about manually saving when you exit the editor or continue with “Continue”.
You’ll find your saved work in the main Templates section the next time you need it.
Those were the main functions of the new Doppler editor; Now you know how to create and edit “New Editor” templates. Explore the functionalities and discover all its secrets. Use all the resources to send the best email marketing campaigns and boost your business.
To get going. Many successes! 🙂
Doubts? You can contact our customer service team by WhatsApp. We are here to help you.


Doppler informs you that the personal data that you provide to us when completing this form will be treated by Doppler LLC as responsible for this web.
Purpose: To allow you to make comments in our help center.
Legitimation: Consent of the applicant.
Recipients: Your data will be saved by Doppler and Digital Ocean as hosting company.
Additional information: In the Doppler Privacy Policy you’ll find additional information about the collection and use of your personal information by Doppler, including information on access, conservation, rectification, deletion, security, cross-border data transfers and other issues.